Editing a Dashboard
To edit a dashboard, follow these instructions:
-
In the Dashboards page, click the dashboard desired to modify.
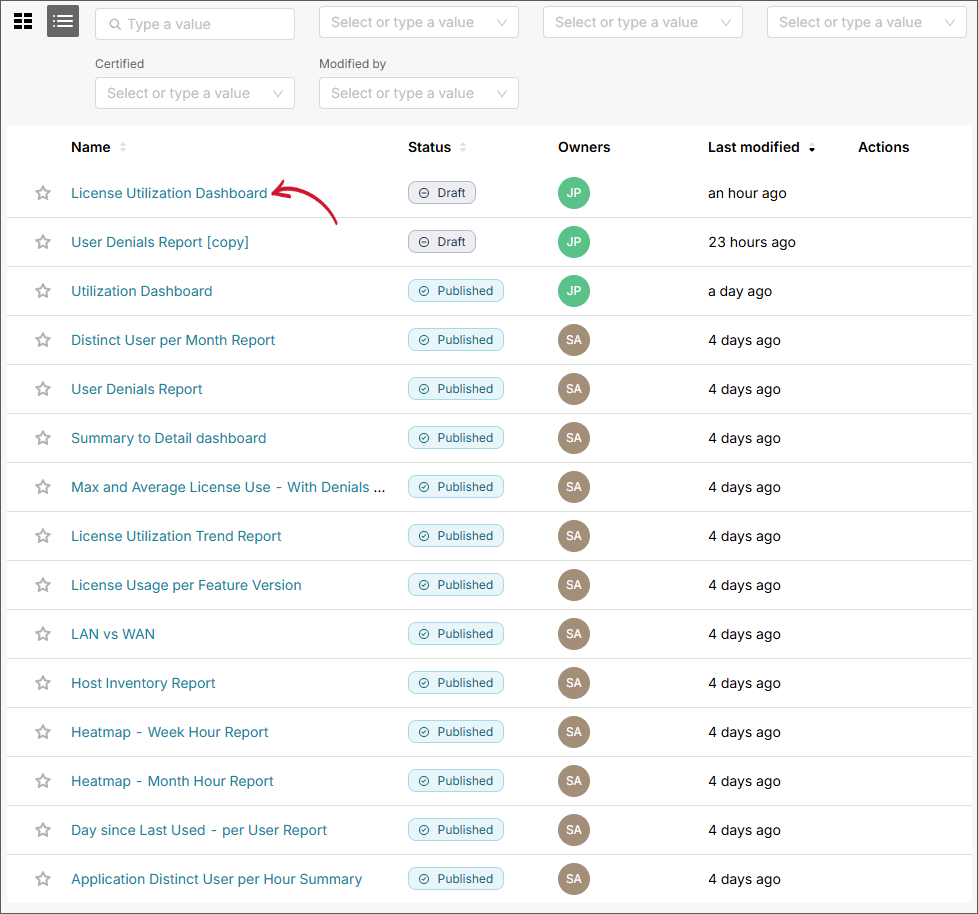 Selecting a Dashboard
-
Once the dashboard is displayed, click Edit dashboard located at the upper-right corner of the page.
NOTEOnly the dashboard owner and administrators can edit the dashboard.
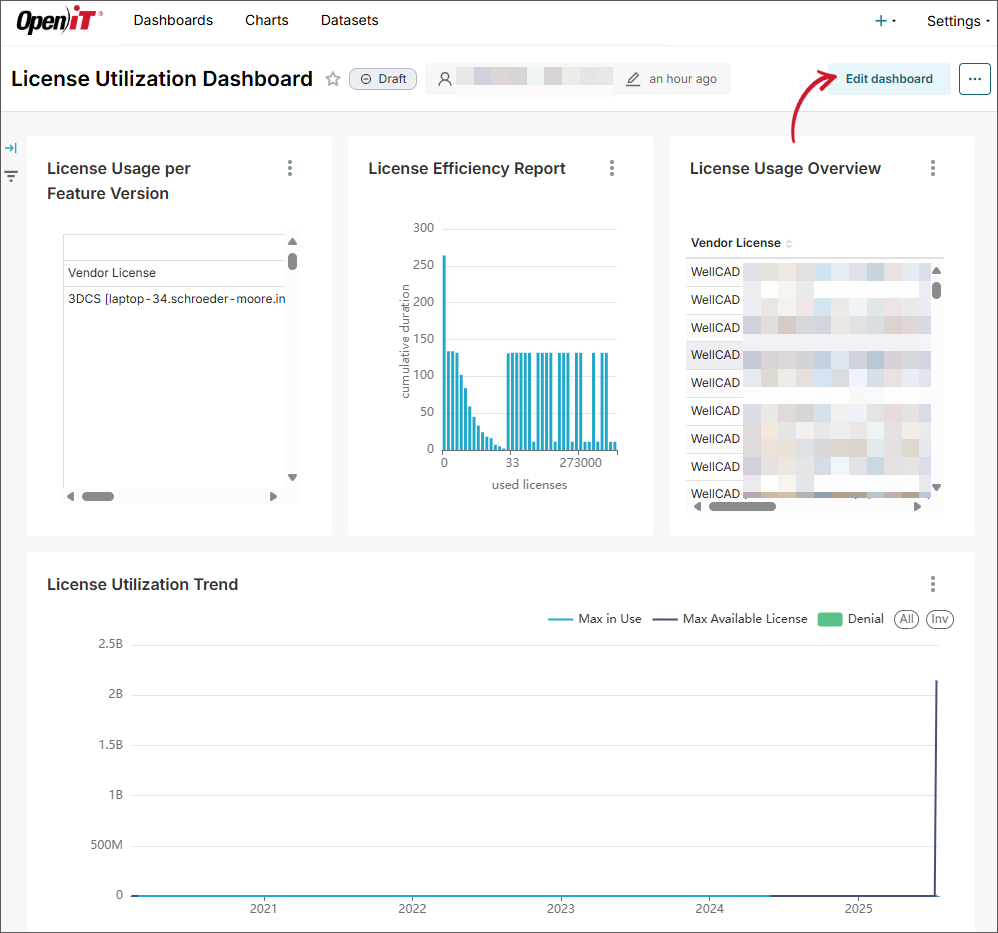 Opening a Dashboard's Edit Mode
-
This will set the dashboard into edit mode. Edit the specific property of the dashboard desired to modify. You may:
- Modify the title of the dashboard.
- Add a chart from the dashboard. Drag and drop a chart from the charts list.
- Remove a chart from the dashboard. Hover the chart, click the delete icon to remove.
- Add layout elements. Click the Layout elements tab and drag then drop an item in the dashboard from the available elements.
- Remove layout elements. Hover the element, click the delete icon to remove.
-
Click Save located at the upper-right corner of the page.
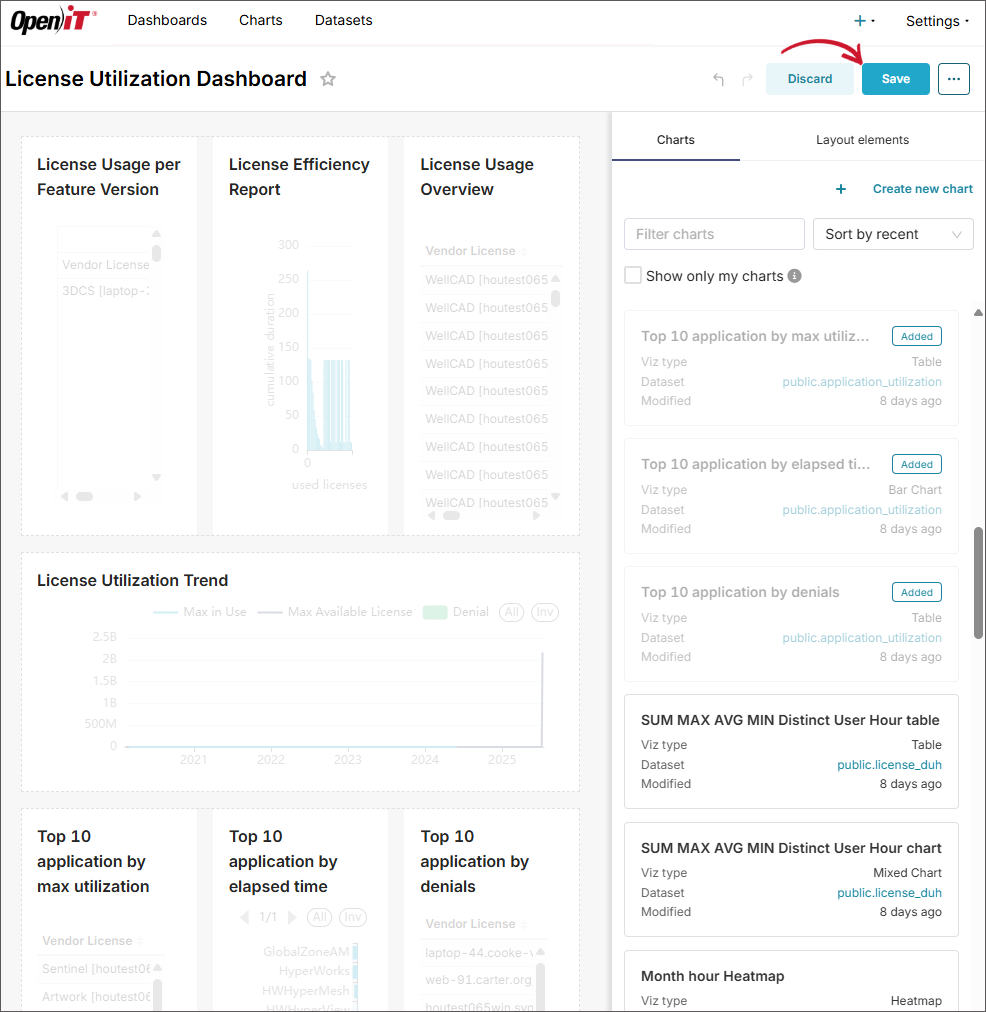 Editing a Dashboard
-
Review the displayed dashboard to see the modifications made. If filters need to be modified, click the gear icon in the Filters pane and choose Add or edit filters. The Add and edit filters dialog will appear.
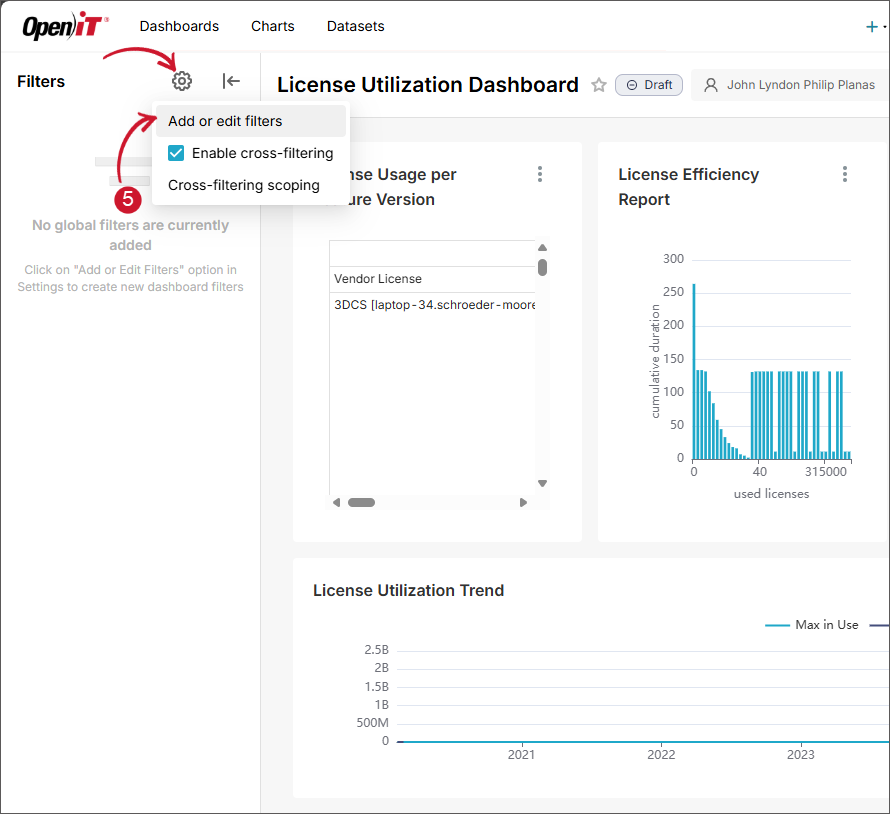 Edit Dashboard Filters
-
Modify the specific property of the filter. You may:
- Edit the setting of an existing filter.
- Add a new filter. Click Add Filter located at the bottom of the dialog.
- Remove a filter. Click the delete icon associated with the filter desired to delete.
-
Click Save.
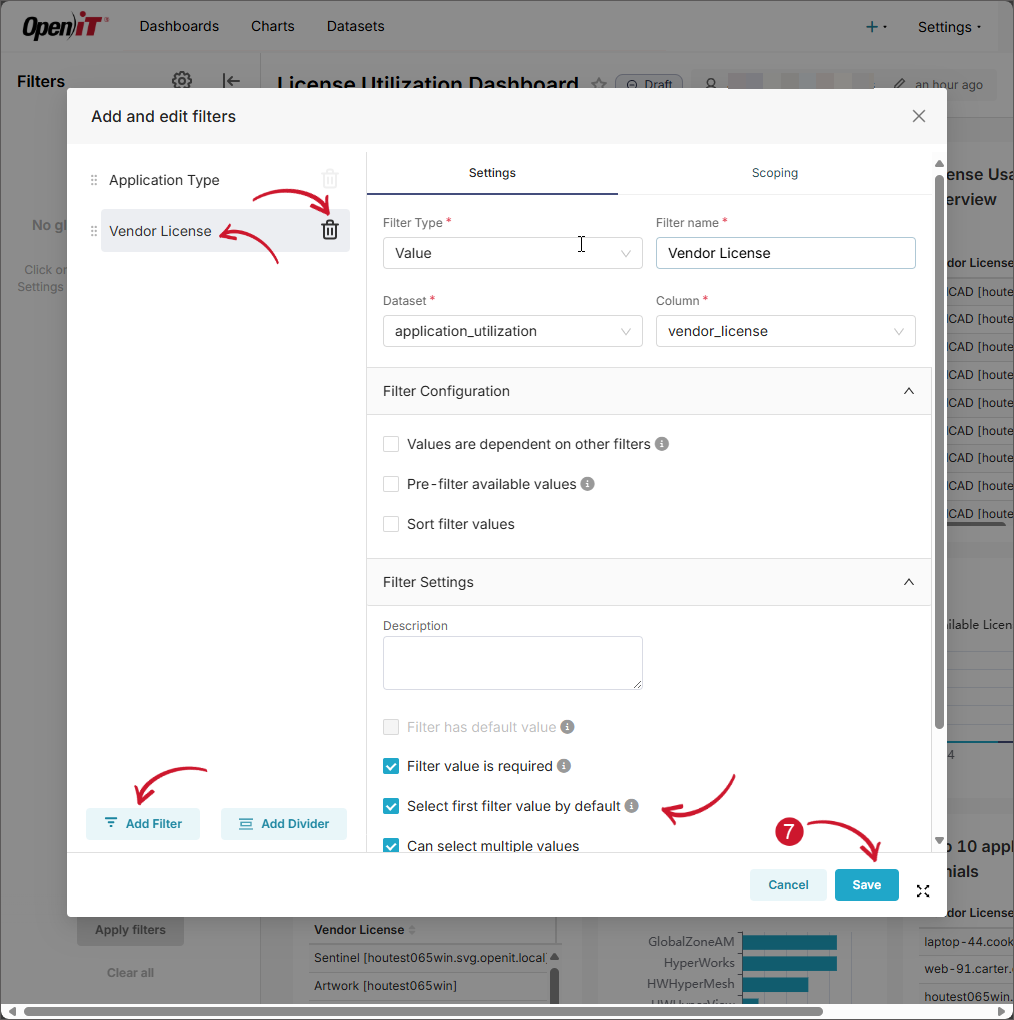 Editing Dashboard Filters
For more information, refer to the official Apache Superset documentation.