We’re upgrading your documentation experience!
The new doc website is live at docs.openit.com. This website is now in maintenance-only mode (only critical issues will be addressed).
Explore the new website and send us your feedback!
#
Client Upgrade
#
Upgrading through the CLIMS Clients Page
Open a web browser and access the CLIMS Server web interface.
Log in and go to the Clients page.
Click the
 upgrade icon of the target client.
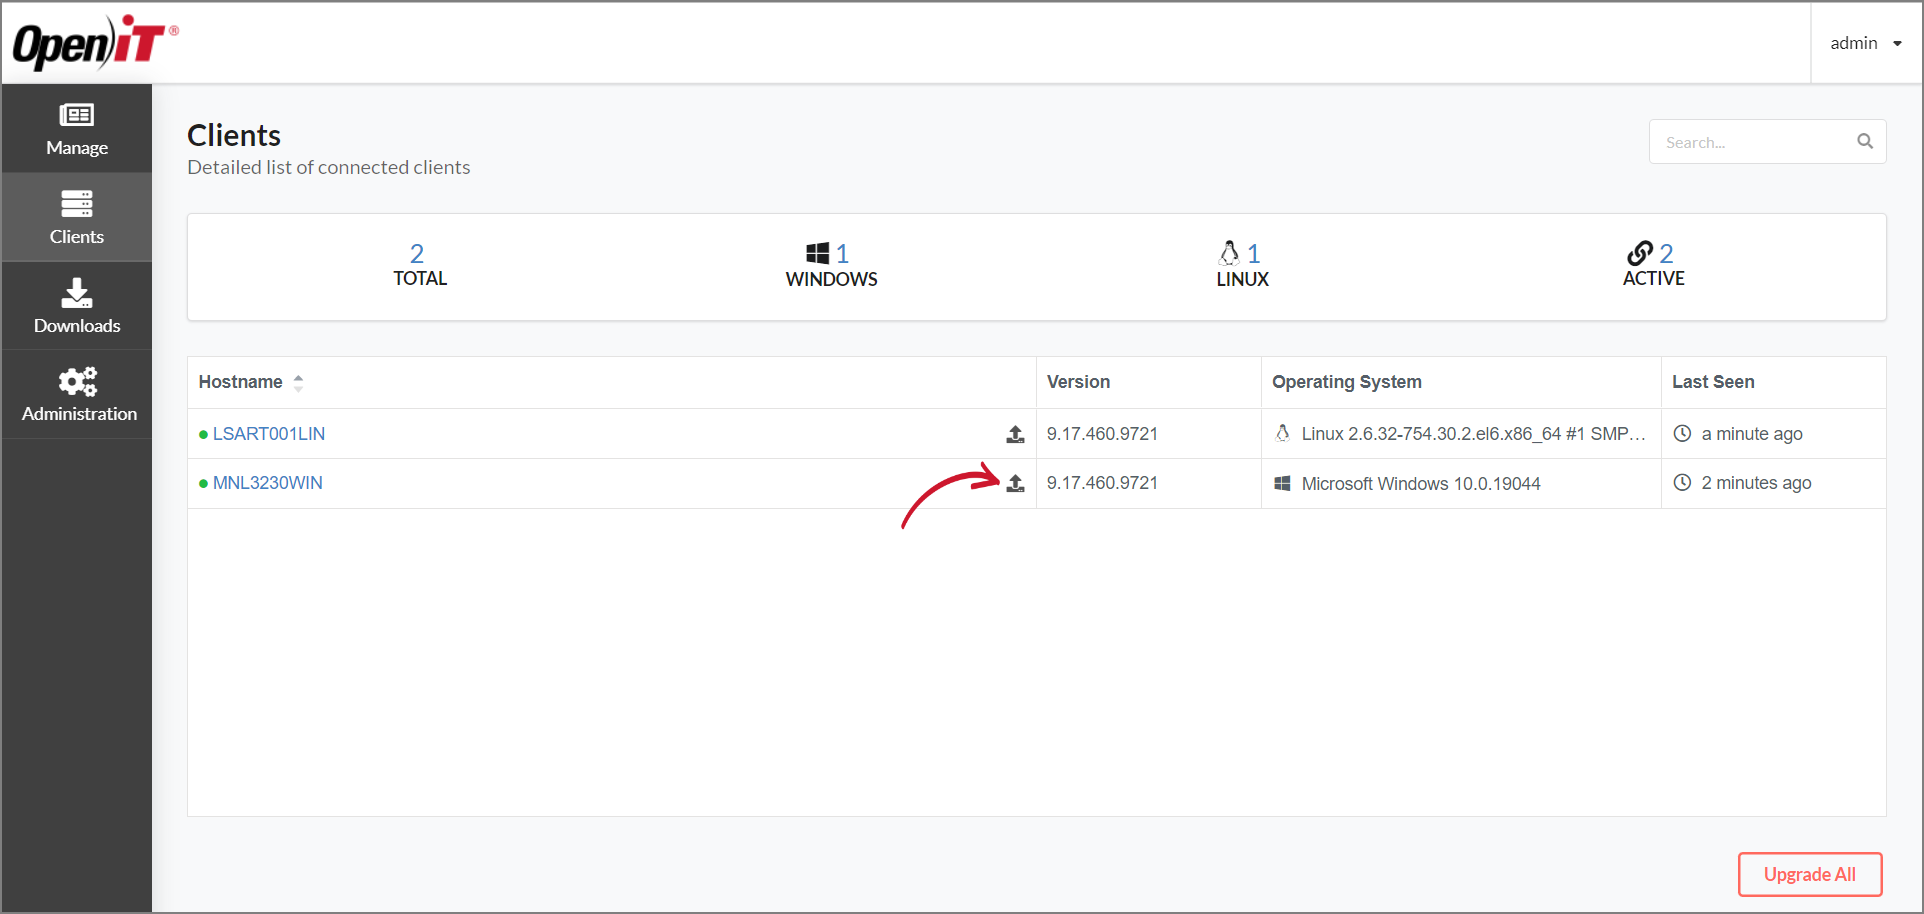 Clients Page: Upgrading a Single Client
Click Confirm to proceed.
Click the Upgrade All button.
 Clients Page: Upgrading All Clients
Click Confirm to proceed.
#
Upgrading Manually
Start by Getting the Client Installers to download the latest client installer or use the commands to download and automatically run the installer file.
#
Upgrading through the Windows Installer Interface
Double-click the new installer.
In the setup wizard, click Next.
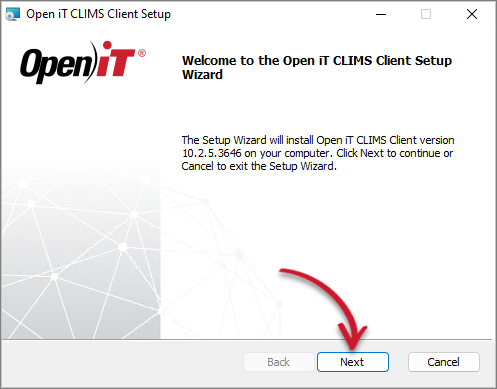 Welcome Screen
Read and accept the License Agreement, then click Next.
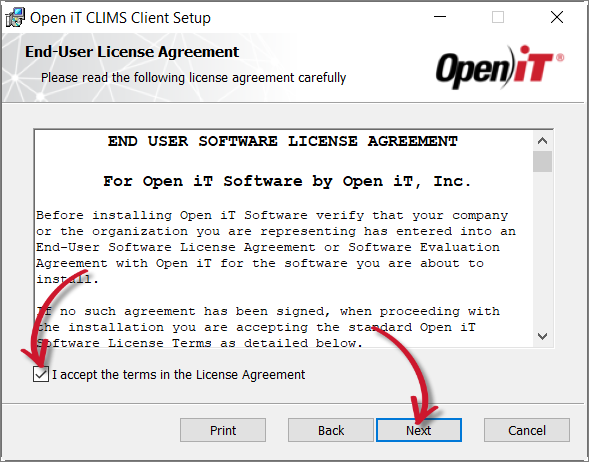 End-User License Agreement
The installer automatically detects the previous installation directory.
Click Change to specify a new directory; otherwise, click Next.
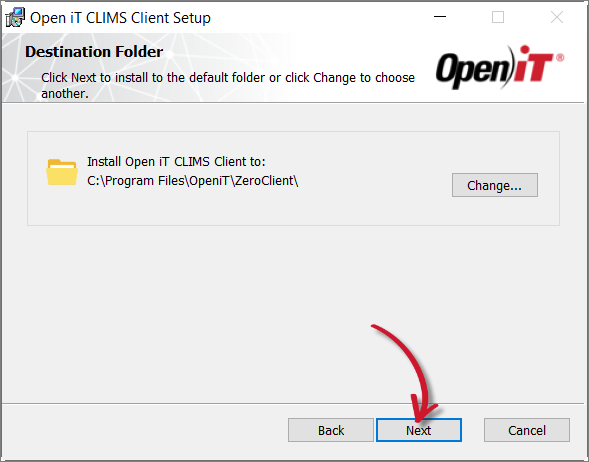 Destination Folder
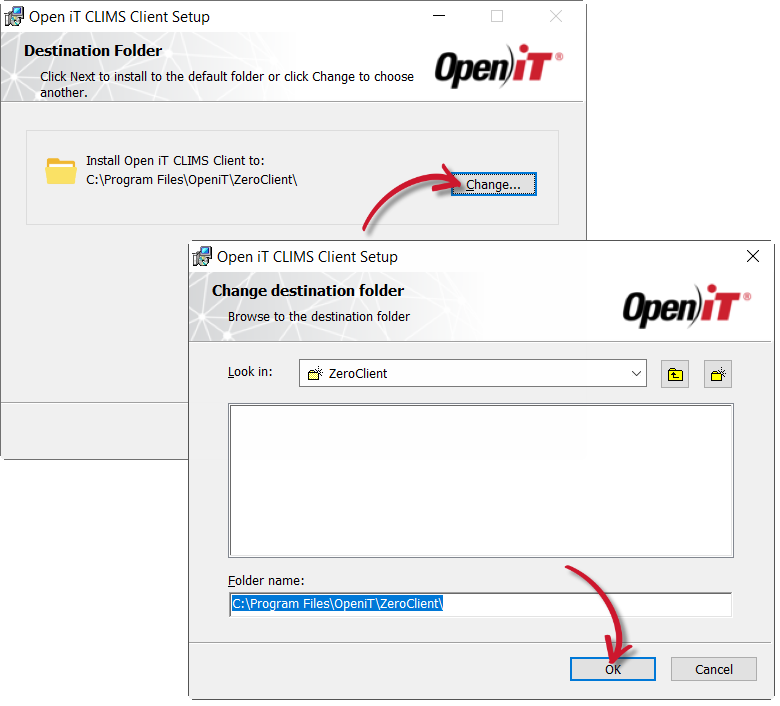 Changing the Installation Directory
The installer automatically detects the previous CLIMS Server URL.
Use the previous configuration or update the URL. Click Next.
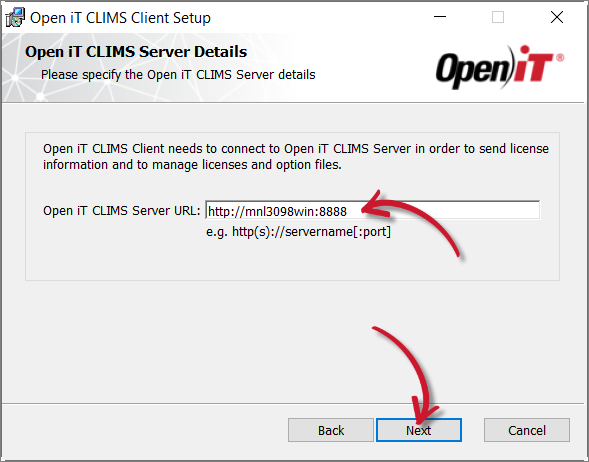 CLIMS Server Details
Click Install to start the upgrade process.
Alternatively, click Back to review any installation setting.
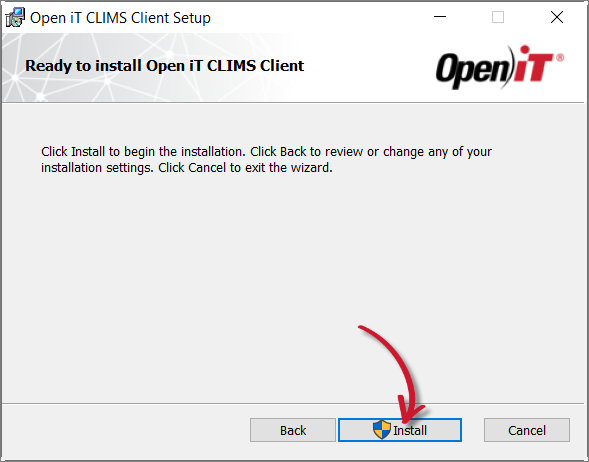 Ready to Install
The installer will set up all necessary files on the computer. Click Finish.
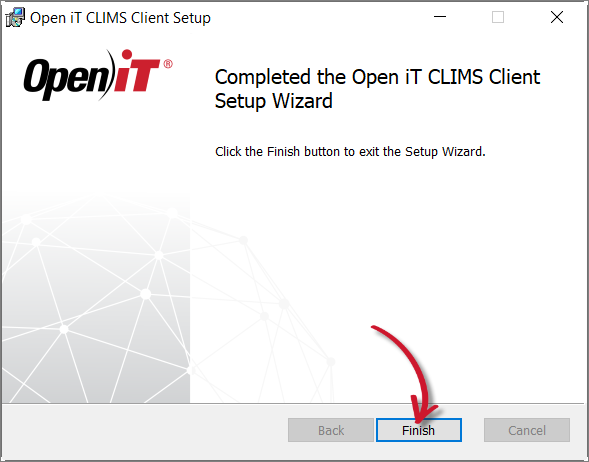 Complete Installation
#
Upgrading using the Downloaded Installer
This is only applicable for installing on OL/RHEL/CentOS 7.
Open a terminal with root user privileges.
Run the following command:
Command Syntaxexport SERVER_URL="http(s)://<clims_server_hostname>:<port_number>" && rpm -Uvh "<path_to_installer>/OpeniTCLIMSClient-linux-x64.rpm"Command Parameters
#
Example
To install OpeniTCLIMSClient-linux-x64.rpm from /root/Installers/, using the CLIMS Server URL, http://win-host01:8888:
export SERVER_URL="http://win-host01:8888" && rpm -Uvh "/root/Installers/OpeniTCLIMSClient-linux-x64.rpm"
#
Next Steps?
After upgrading, proceed with verifying the installation.
Verifying CLIMS Client Installation