Upgrade
Direct upgrades between major versions are not supported.
Please refer to the Core Server migration guide for the appropriate steps to move from one major version to another.
Upgrade to Core Server version 10.2 before updating the clients to ensure proper Windows Inventory data processing for the updated data type 33.
- Windows
- Unix
Choose one of the available installation methods below:
Upgrading through the Windows Interface
Make sure that there are no open files and directories in the Windows Explorer or command line.
-
Right-click the
openit_<version>_server_windowsISO image and choose Mount.A new file explorer will appear containing the
openit_<version>_server_windows_<architecture>.msiand clients folder. -
Double-click the
openit_<version>_server_windows_<architecture>.msiinstaller file to begin upgrade. -
Click Yes on the upgrade confirmation prompt.
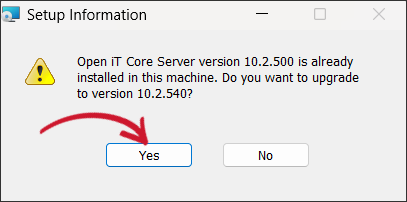 Confirm Upgrade
-
The setup wizard will be displayed. Click Next.
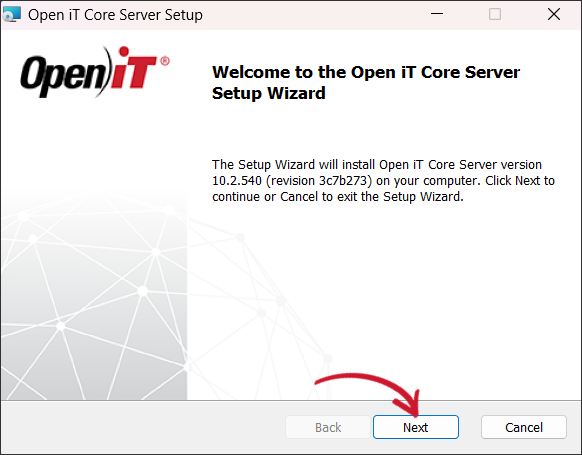 Welcome Screen
-
Read the License Agreement before accepting the terms. Click Next.
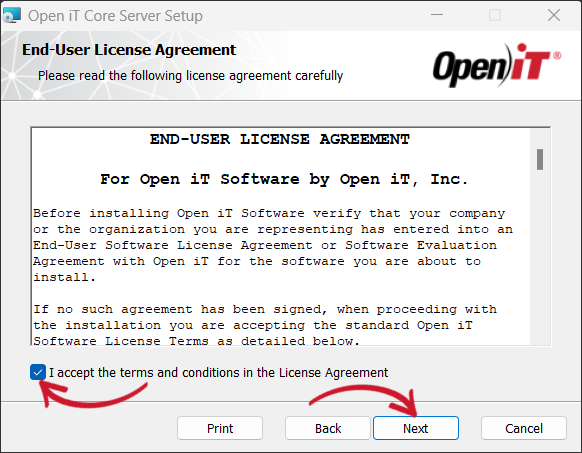 End-User License Agreement
-
(Optional) Enter the Open iT Shared Software Assets Directory (SSAD) Client ID and Secret provided by the Open iT Account Manager or Delivery/Support Team. These credentials will be utilized to ensure SSAD-Core Server connection for the ServiceNow Integration.
noteYou may skip this step by clicking Next and configure it post-install in Configuring Access to the Open iT Shared Software Assets Directory (SSAD).
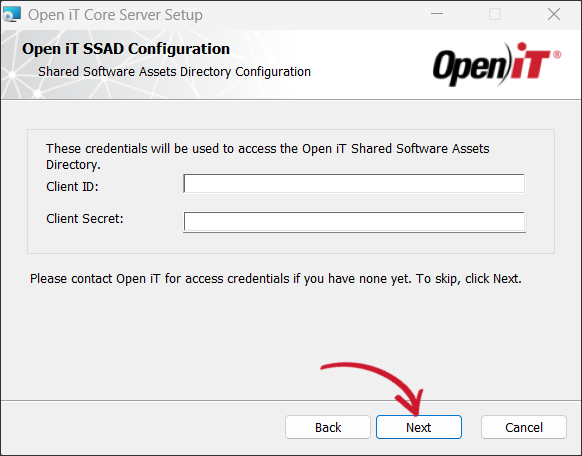 SSAD Access Configuration
-
Specify, or browse for, the directory containing a valid Open iT license key, then click Next.
noteIf you skip this step, the installation will use the license key included in the Configuration folder.
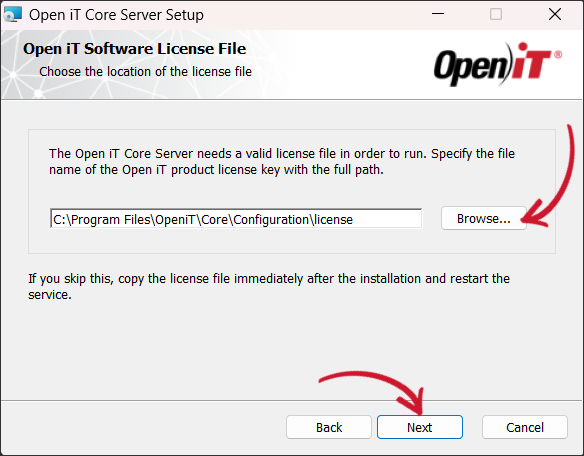 Software License File
-
Click Install to start the installation process. Click Back to review any installation setting.
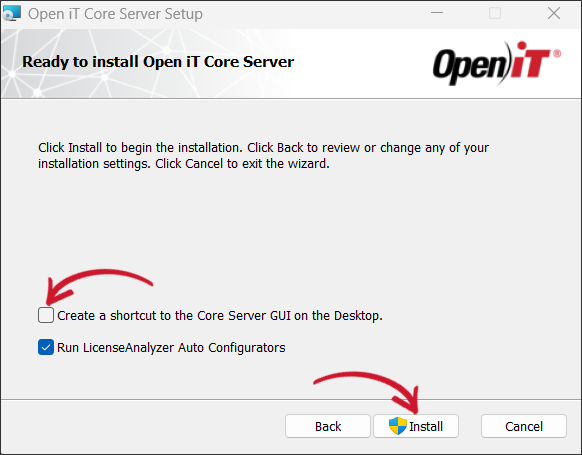 Ready to Install
-
Click Finish to complete the installation.
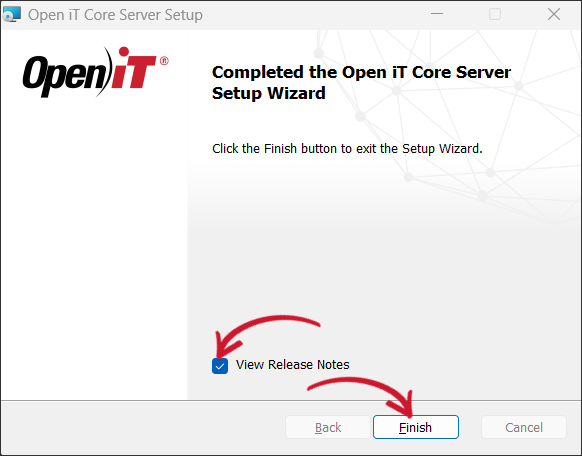 Installation Complete
Upgrading through the Command Line
-
Right-click the
openit_<version>_server_windowsISO image and choose Mount.A new file explorer will appear containing the
openit_<version>_server_windows_<architecture>.msiand clients folder. -
Open a command prompt with Administrative level privileges.
-
Execute the following command:
Command Syntaxmsiexec /i <msi_file> /l*v <log_file> <options> INSTALLDIR=<root_dir>Required:
Name Description /i <msi_file>The path of the Windows installer file, openit_<version>_client_windows_<architecture>.msi. This should be the path to the mounted ISO image./l*v <log_file>The path of the installation log file that will be created during installation. Required Key-Value Pairs for Core Server Installation
Options:
Name Description /quietRun the command in silent mode. /passiveRun the command in unattended mode — progress bar only. Options for Core Server Installation
noteThe installer will use the Windows Installer Interface process when the installation option is not specified.
Properties:
Name Description INSTALLDIR=<root_dir>Use this to specify the path where the Open iT files will be installed. If not specified, the default value is C:\Program Files\OpeniT\Core.UPGRADECONFIGDIR=<path_to_dir>Use this to specify the path where the UpgradeAssistant will store the installation upgrade files and changelogs. If not specified, the default value is C:\ProgramData\OpeniT\Data\UpgradeConfigFiles.CONFIGDIR=<path_to_dir>Use this to specify the path where the UpgradeAssistant will store the configuration files to be modified. If not specified, the default value is C:\Program Files\OpeniT\Core\Configuration.INGRESS-URI=<ingress_uri>Use this to specify the Ingress installation hostname and port http(s)://<ingress_hostname>:<port_number>.SSAD_ID=<client_id>Use this to input the SSAD client ID during installation. Coordinate with the Open iT Account Manager or Delivery/Support team regarding the SSAD access credentials. SSAD_SECRET=<client_secret>Use this to input the SSAD client secret during installation. Coordinate with the Open iT Account Manager or Delivery/Support team regarding the SSAD access credentials. Core Server Software Upgrade Properties
Examplemsiexec /i openit_10_2_510_server_windows_x64 /l*v upgrade_log.txt /passive INSTALLDIR="C:\Program Files" -
When using the passive mode, wait until the process bar dialog disappears. When using the quiet mode, verify if the installation is complete by opening the Task Manager and checking in the Details tab if the msiexec process is still running.
Upgrading through the Terminal
-
Create a directory for the new installer file.
-
Extract the archived contents of the installer using the following command:
Command Syntaxtar -xvpf openit_<version>_server_<platform>_<architecture>.tarExampletar -xvpf openit_10_2_540_server_linux_x86_64.tar -
The directory
distwill appear in the current directory after archive extraction. Go to this directory. -
Execute the install script.
All parameters are optional for software upgrade.
You can opt not to use the installation parameters for the upgrade if the settings from the previous installation will be used. See step number 3 of the Core Server Installation guide for Unix to check the list of parameters.
Command Syntax./install.shIf new value(s) for the parameter(s) will be used, specify them in the upgrade. For example, to set a new data directory:
Command Syntax./install.sh data-dir=/opt/openit_data2024 -
The install script will notify that there is an existing server on the machine and will ask to allow an upgrade. Type
y, then press Enter.Example OutputVersion: 10.2.540
Platform: x86_64-unknown-linux
Installer package directory: /root/new/dist
Host type: server
Open iT Server (9.19.440) is already installed.
Proceed with the upgrade to Open iT Server (10.2.540)? [y/N]: yNOTEAn additional message may appear if the current installation is an unofficial build.
Example OutputThe currently installed version (9.19.441) is unofficial.
When upgrading from this version, a backup of the
old configuration directory is created and any modifications
created are reset.After allowing the upgrade, the install script will display the following:
Example OutputCreating a backup of the current installation.
Copying /var/opt/openit/etc to /var/opt/openit_persistent.
Please do not cancel the installation during the backup creation.
Please wait...
Backup created. Uninstalling Open iT Server.
Open iT Server uninstalled. Proceeding with the upgrade.
Data directory: /opt/openit_data2024
Installation Directory: /opt/openit
Root Temporary Directory: /var/opt/openit
Service Account Name: openit
Service Account Group: openit
Checking for OpeniT Ingress accessibility ...
Ingress is neither detected on this host nor is supplied. Using default value.
Checking minimum OS requirement ...
Minimum OS requirement met.
Verifying the directories that will be used by Open iT ...
Trying to add domain to server, using 'http://domain.example.test'
Installing Open iT Server files...
Installing crontab jobs, startup scripts, and boot runlevel links...
Creating an archive of the backup files...
Archive created. This archive can be found in /var/opt/openit/inst.
Upgrading Open iT from 9.19.440 to 10.2.540...
Upgrade complete.
Setting the service account as the owner of the installation files...
File ownership setup complete.
Setting up configuration files...
Configuration file setup complete.
Installation complete. The URL for the Open iT web interface is:
http://domain.example.test:00000/
Setting up git and bare repositories of configuration files.
Installation successful.