Installation
Learn about and install Open iT Ingress before installing Core Server version 10.
- Windows
- Unix
This guide provides instructions for scenarios where Ingress is installed on the same machine as the Core Server. It assumes that Ingress is properly installed and accessible. Choose one of the available installation methods below:
Installing through the Windows Interface
-
Right-click the
openit_<version>_server_windowsISO image and choose Mount.A new file explorer will appear containing the
openit_<version>_server_windows_<architecture>.msiand clients folder. -
Double-click the
openit_<version>_server_windows_<architecture>.msiinstaller file to begin.A setup wizard will be displayed. Click Next.
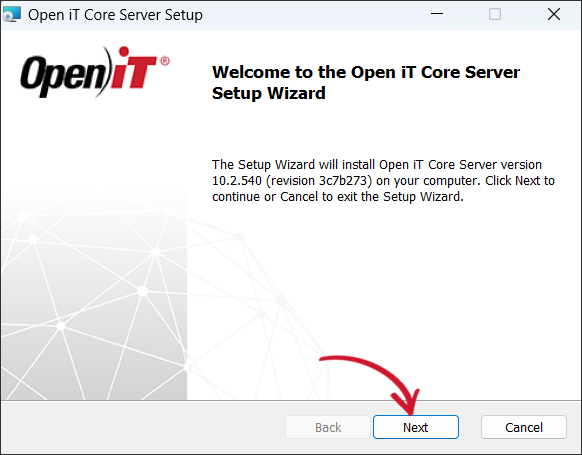 Welcome Screen
-
Read the License Agreement before accepting the terms. Click Next.
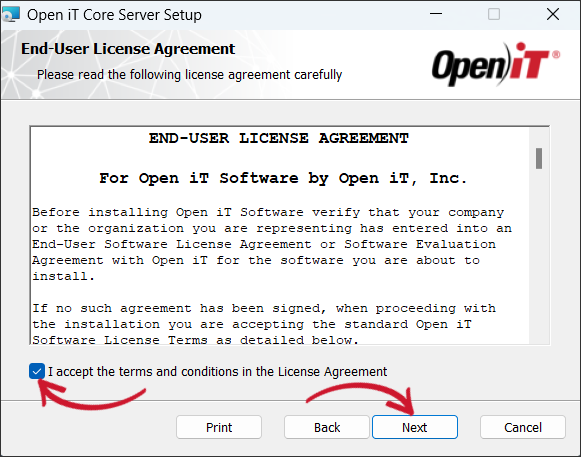 End-User License Agreement
-
Specify where the Open iT software will be installed. Click Change to specify a different directory or click Next to use the default folder.
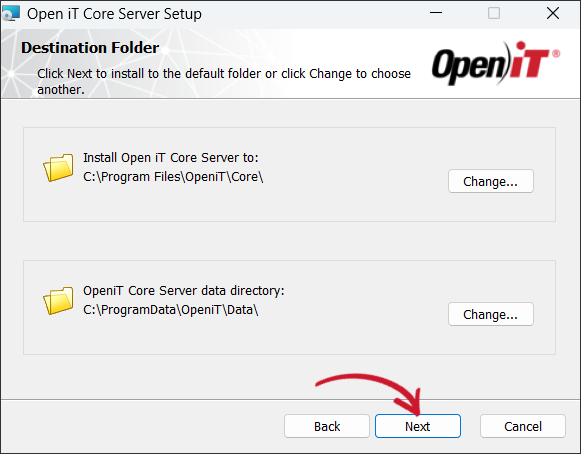 Destination Folder
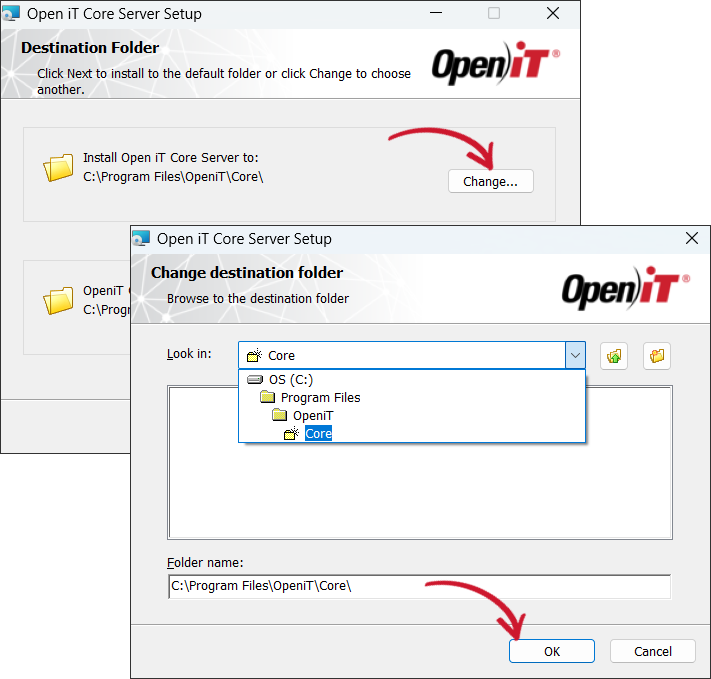 Changing the Installation Directories
-
(Optional) Enter the Open iT Shared Software Assets Directory (SSAD) Client ID and Secret provided by the Open iT Account Manager or Support Team. These credentials will be utilized to ensure SSAD-Core Server connection for the ServiceNow Integration.
noteYou may skip this step by clicking Next and configure it post-install in Configuring Access to the Open iT Shared Software Assets Directory (SSAD).
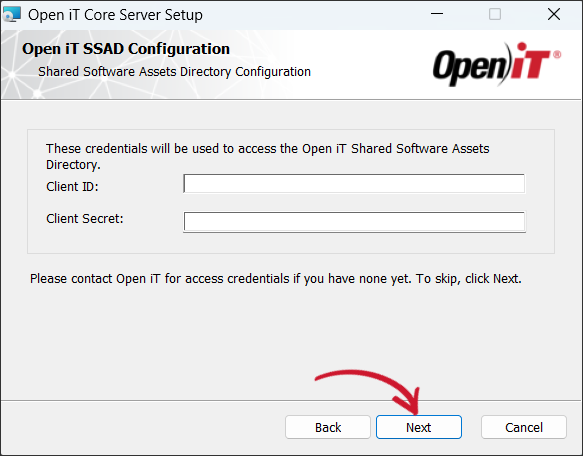 SSAD Access Configuration
-
Specify, or browse for, the directory containing a valid Open iT license file, then click Next.
noteIf you skip this step, the installation will use the license key included in the Configuration folder.
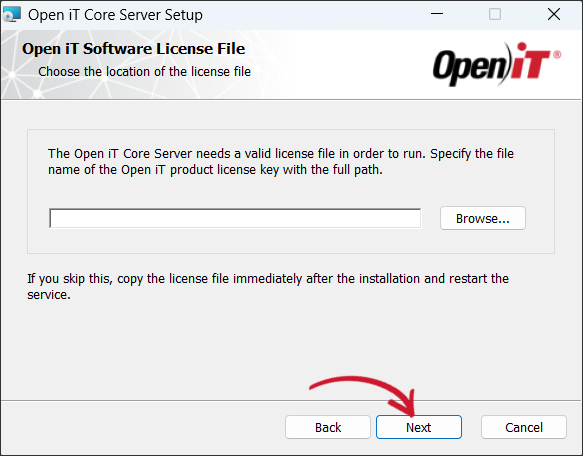 Software License File
-
Click Install to start the installation process. Click Back to review any installation setting.
 Ready to Install
The installer will set up all necessary files on the computer.
-
Click Finish to complete the installation.
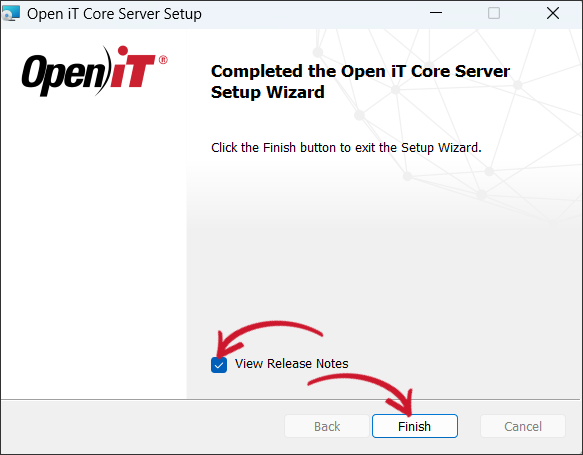 Installation Complete
Installing through the Command Line
-
Right-click the
openit_<version>_server_windowsISO image and choose Mount.A new file explorer will appear containing the
openit_<version>_server_windows_<architecture>.msiand clients folder. -
Open a command prompt with Administrator level privileges.
-
Execute the following command:
Command Syntaxmsiexec /i <msi_file> /l*v <log_file> <options> INSTALLDIR=<root_dir> ingress-uri=<ingress_uri>Required:
Name Description /i <msi_file>The path of the Windows installer file, openit_<version>_server_windows_<architecture>.msi. This should be the path to the mounted ISO image./l*v <log_file>The path of the installation log file that will be created during installation. Required Key-Value Pairs for Core Server Installation
Options:
Name Description /quietUse this to run the command in silent mode. /passiveUse this to run the command in unattended mode — progress bar only. Options for Core Server Installation
noteThe installer will use the Windows Installer Interface process when the installation option is not specified.
Properties:
Name Description INSTALLDIR=<root_dir>Use this to specify the path where the Open iT files will be installed. This value is set to C:\Program Files\OpeniT\Coreby default.SSAD_ID=<client_id>Use this to input the SSAD Client ID during installation. Coordinate with the Open iT Account Manager or Support Team regarding the SSAD Access Credentials. SSAD_SECRET=<client_secret>Use this to input the SSAD Client Secret during installation. Coordinate with the Open iT Account Manager or Support Team regarding the SSAD Access Credentials. Core Server Installation Properties
The SSAD_ID and SSAD_SECRET credentials will be utilized by the Open iT Share Software Assets Directory (SSAD) component of the ServiceNow Integration.
Examplemsiexec /i openit_10_2_500_server_windows_x64 /l*v install_log.txt /passive INSTALLDIR="C:\Program Files" -
When using the passive mode, wait until the process bar dialog disappears. When using the quiet mode, verify if the installation is complete by opening the Task Manager and checking in the Details tab if the msiexec process is still running.
This guide provides instructions for scenarios where Ingress is installed on the same machine as the Core Server. It assumes that Ingress is properly installed and accessible.
Installing through the Terminal
-
Extract the archive contents of the installer using the following command:
Command Syntaxtar -xvpf openit_<version>_server_<platform>_<architecture>.tarExampletar -xvpf openit_10_2_540_server_linux_x86_64.tar -
After extracting the archive, the directory
distwill appear in the current directory. Go to thedistdirectory.Command Syntaxcd dist -
Execute the following command:
Command Syntax./install.sh <key1=value1> <key2=value2>...Execute the
helpcommand to display the usage of these key-value pairs. Type--helpor-hafter the install command.Example./install.sh --helpYou can write the following key-value pairs in any order.
Required:
Name Description userUse this to specify a service account name. Use a service account other than root. groupUse this to specify a service account group name. Use a service account group other than root. data-dirUse this to specify a path to where you want the Open iT database to be. Required Key-Value Pairs for Core Server Installation
Optional:
Name Description html-dirUse this to specify the path to where you want the report data to be. httpd-log-dirUse this to specify the path to where you want the web daemon activity logging (access and error) to be. If not specified, the default value is temp-dir/log/httpd.install-dirUse this to specify the location for Open iT static data, binaries, and libraries. If not specified, the default value is /opt/openit. If this default directory is not suitable for your system, you can specify another location, and a link will be created pointing to this directory. If a link already exists from /opt/openit, the destination of the link will be suggested as the installation destination. Do not set the install-dirvalue to/and avoid using/var.temp-dirUse this to specify where you want to keep the Open iT Core Client collected data from the original data sources before converting and transferring them to the Core Server. Default value is /var/opt/openit.SSAD_ID=<client_id>Use this to input the SSAD Client ID during installation. Coordinate with the Open iT Account Manager or Support Team regarding the SSAD Access Credentials. SSAD_SECRET=<client_secret>Use this to input the SSAD Client Secret during installation. Coordinate with the Open iT Account Manager or Support Team regarding the SSAD Access Credentials. Optional Key-Value Pairs for Core Server Installation
The SSAD_ID and SSAD_SECRET credentials will be utilized by the Open iT Share Software Assets Directory (SSAD) component of the ServiceNow Integration.
Example./install.sh user=openit group=openit data-dir=/opt/openit_dataOnce started, the
install.shscript will display the following:Example OutputVersion: 10.2.540
Platform: x86_64-unknown-linux
Installer package directory: /root/installer/dist_10.2
Host Type: server
Data directory: /opt/openit-data
Installation Directory: /opt/openit
Root Temporary Directory: /var/opt/openit
Service Account Name: openit
Service Account Group: openit
Checking for Open iT Ingress accessibility ...
Open iT Ingress installation found on this host.
Checking minimum OS requirement...
Minimum OS requirement met.
Verifying the directories that will be used by Open iT...
Using ROOT_DATA_DIR for ROOT_HTML_DIR
Installing Open iT Server files ...
Installing crontab jobs, startup scripts, and boot runlevel links ...
Setting the service account as the owner of the installation files ...
File ownership setup complete.
Setting up configuration files ...
Configuration file setup complete.
Installation complete. The URL for the Open iT web interface is:
https://host01/
...
Setting up git and bare repositories of configuration files.
Installation successful.warningIf you encounter the warning
Warning: Git Not Found., follow this troubleshooting guide.
Unix machines have a file descriptor limit of 1024. If you are expecting a lot of distinct Core Server simultaneous users, workstation collector hosts, and license manager collector hosts, make sure that the global limit file is significantly high in the limits.conf file in /etc/security/. If you deem that the configured value is enough, you may keep it as is.
If it is not yet configured or the existing value is not enough:
-
Add the following line in the
limits.conffile:limits.conf<user> hard nofile <new_limit>limits.conf Exampleopenit hard nofile 50000This example will increase the maximum open file limit to 50,000 for the
openituser.warningThe value of the new limit must be greater than the sum of the distinct number of Core Server simultaneous users, workstation collector hosts, and license manager collector hosts.
-
Change the actual limit in the current environment, run the following command:
Command Syntaxulimit -n 50000 -
Restart the Open iT Services.
Command Syntax/opt/openit/bin/openit-all restart
Recommended reading: If Ingress is installed remotely or on a separate machine than the Core Server, follow the instructions on Installation with Remote Ingress Setup