Configuring OAuth2 Settings
Use this to provide configurations for OAuth2 (Open Authorization 2.0) for sending email alerts. Follow these instructions to properly setup the configuration:
- Enable Anonymous Authentication in IIS
- Registering Application in Azure Portal for Email Alerts
- Configuring Mail Server Authentication with OAuth2
When accessing Analysis Server web interface remotely or via hostname (e.g., http://desktop154:8088/) rather than through localhost (e.g., http://localhost:8088/), you must configure the website bindings to use HTTPS in IIS. This is because Azure Application Registration requires HTTPS protocol for non-localhost websites in Redirect URI. To achieve this, please follow the instructions in Website Binding (HTTPS)
Registering Application in Azure Portal for Email Alerts
It is required to register an application in Azure Portal as middleman to authenticate and authorize the sending of email alerts.
Follow these steps to register an application in a specific Active Directory in Azure Portal:
-
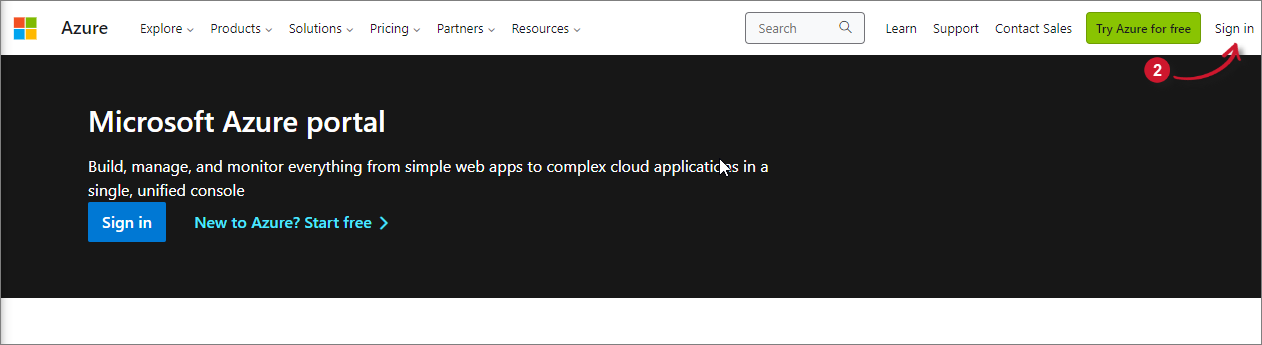
Go to the Microsoft Azure Website.
-
Click Sign in on the upper-right corner of the page. If you are currently logged in to your Microsoft account, it will use that account to authenticate.
 Microsoft Azure Website
This will redirect to the Microsoft Azure Portal.
-
Search for and open the Microsoft Entra ID page. This will show the default tenant configured.
 Microsoft Entra ID
-
In the Manage pane, click App registrations.
-
Click New registration located at the upper-left part of the page.
 New App Registration
This will be redirected to the Register an application page.
-
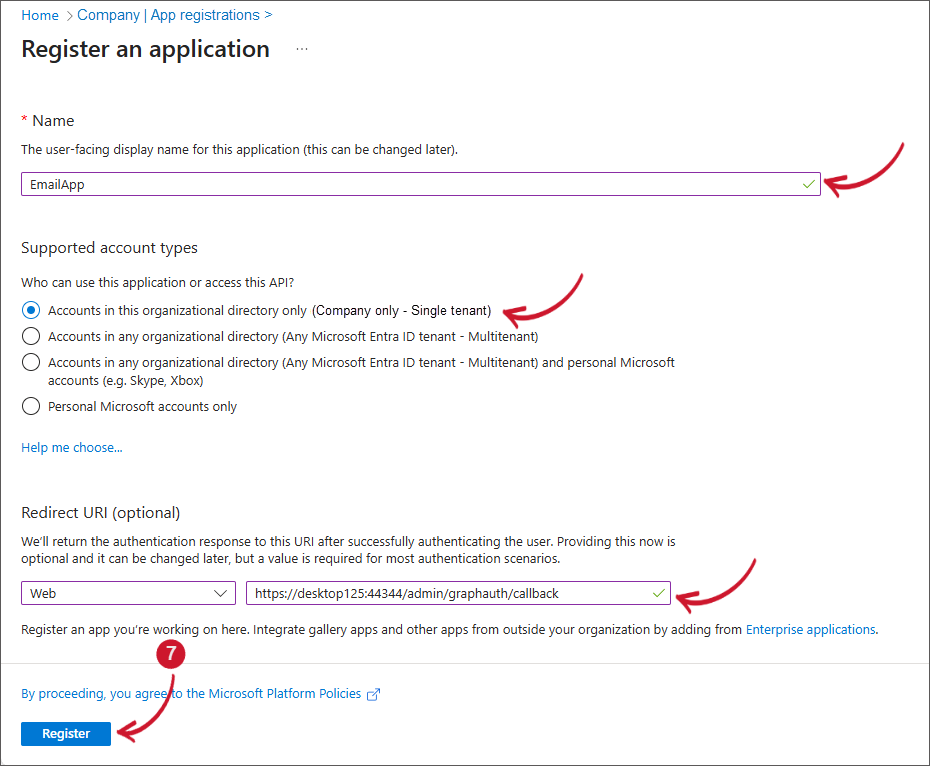
Provide all the necessary information in the form. Descriptions of the options are displayed within the form.
- Name - EmailApp
- Supported account type - Accounts in this organizational directory only
- Redirect URI - please choose and provide:
- Platform - Web
- URI - https://[as_instance]:[as_port]/admin/graphauth/callback (e.g., https://desktop125:44344/admin/graphauth/callback)
-
Click Register.
 Register an application
-
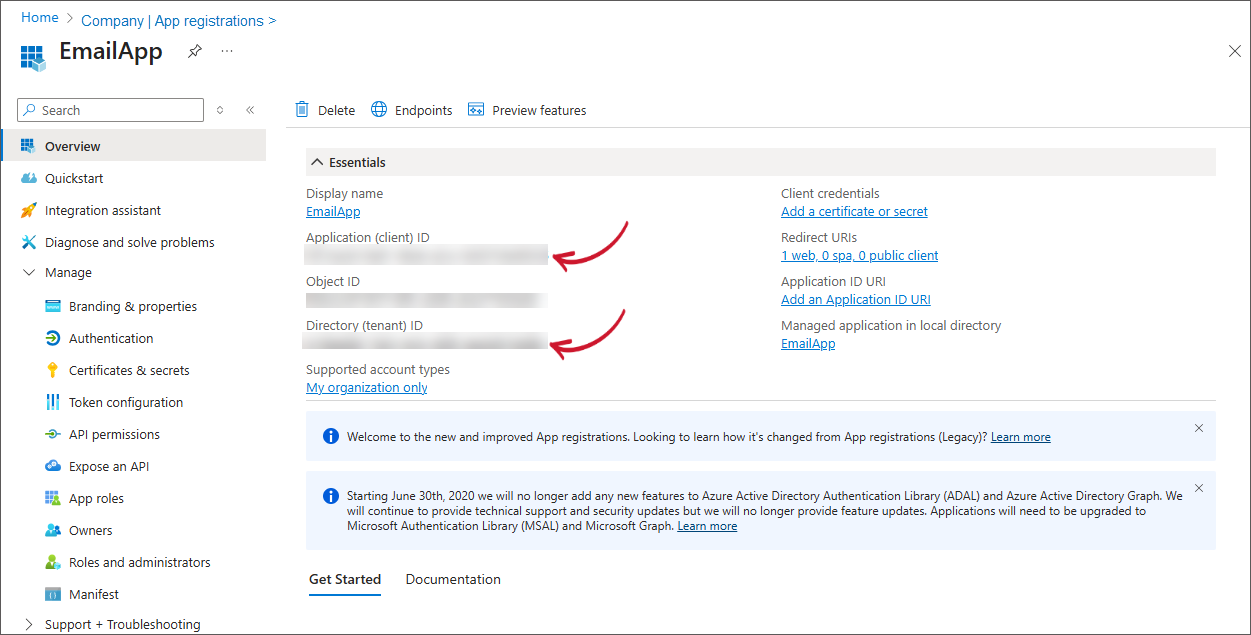
Wait until the page is redirected to the registered application overview page. This page contains all the settings and configuration of the registered application.
tipTake note of the Client ID and Tenant ID of the registered application. This will be used in configuring the Open iT Analysis Server.
 Registered Application Overview
-
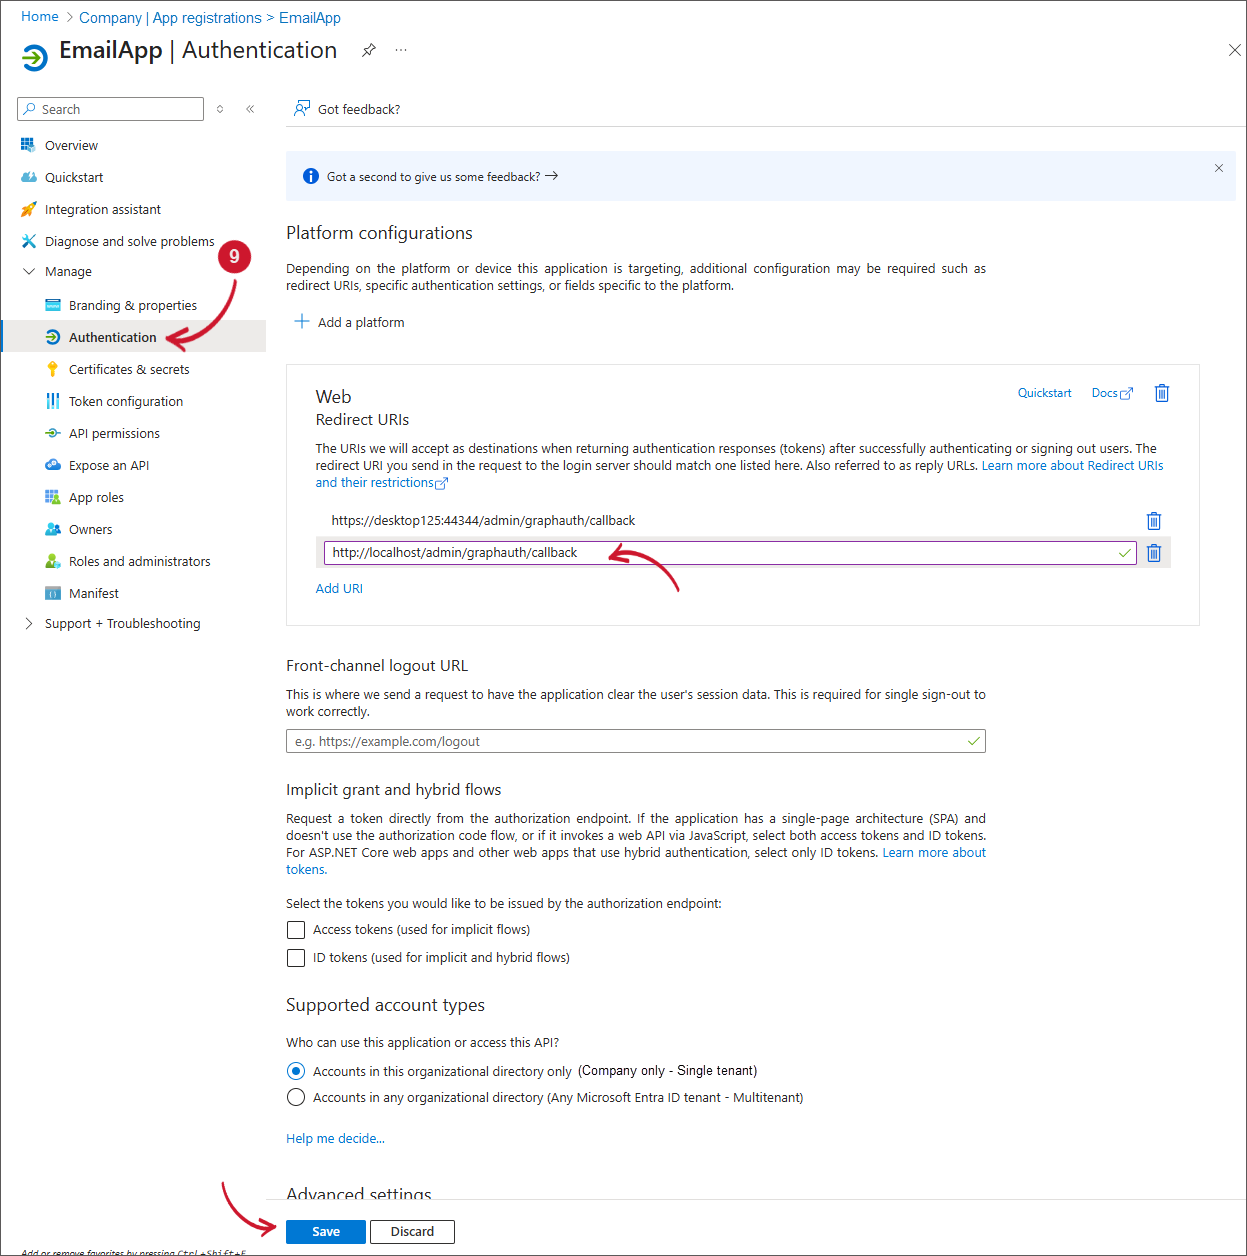
In the Manage pane, click Authentication.
warningMake sure that the Redirect URI is correct.
tip-
Add more known URI that are valid when accessing the Open iT Analysis Server web interface. This ensures that the authentication redirect works correctly. The format of the redirect URI must be - http(s)://<as_instance>:<as_port>/admin/graphauth/callback. Click Save to apply changes.
-
Take note of the most commonly used Open iT Analysis Server URI. This will be needed when configuring the Open iT Analysis Server application settings.
 Registered Application Authentication
-
-
In the Manage pane, click Certificates & secrets.
-
Click New client secret. Add a client secret will appear.
-
Provide a Description and set the Expires to what your organization allows. Click Add.
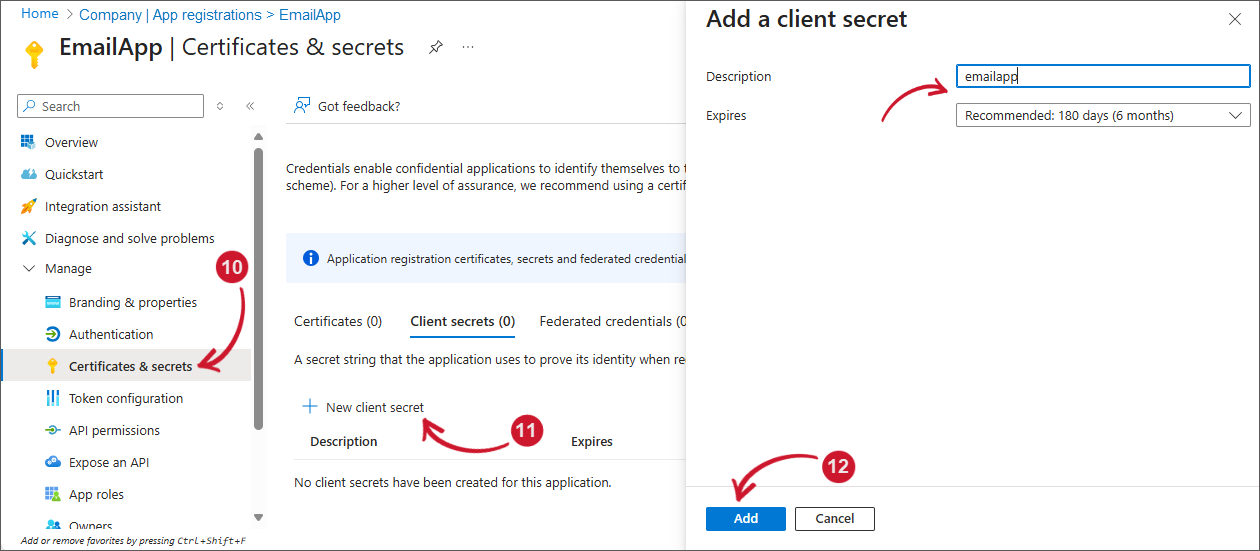 Registered Application Client Secret
-
A new entry of client secret will be added.
warningTake note of the Value. It will be encrypted after leaving the page.
 Registered Application Client Secret Value
-
In the Manage pane, click API Permissions.
-
Make sure that under Microsoft Graph with Delegated as Type is configured. Click Microsoft Graph.
-
The Request API permissions panel will appear. Click Delegated Permissions under What type of permissions does your application require?
-
Under OpenId permissions, choose the following:
- offline_access (Maintain access to data you have give it access to)
- openid (Sign users in)
- profile (View users' basic profile)
 Registered Application API Permissions
-
In the search bar, type Mail.
-
Under the list of Permissions, expand Mail.
-
Choose Mail.Send > Send mail as user.
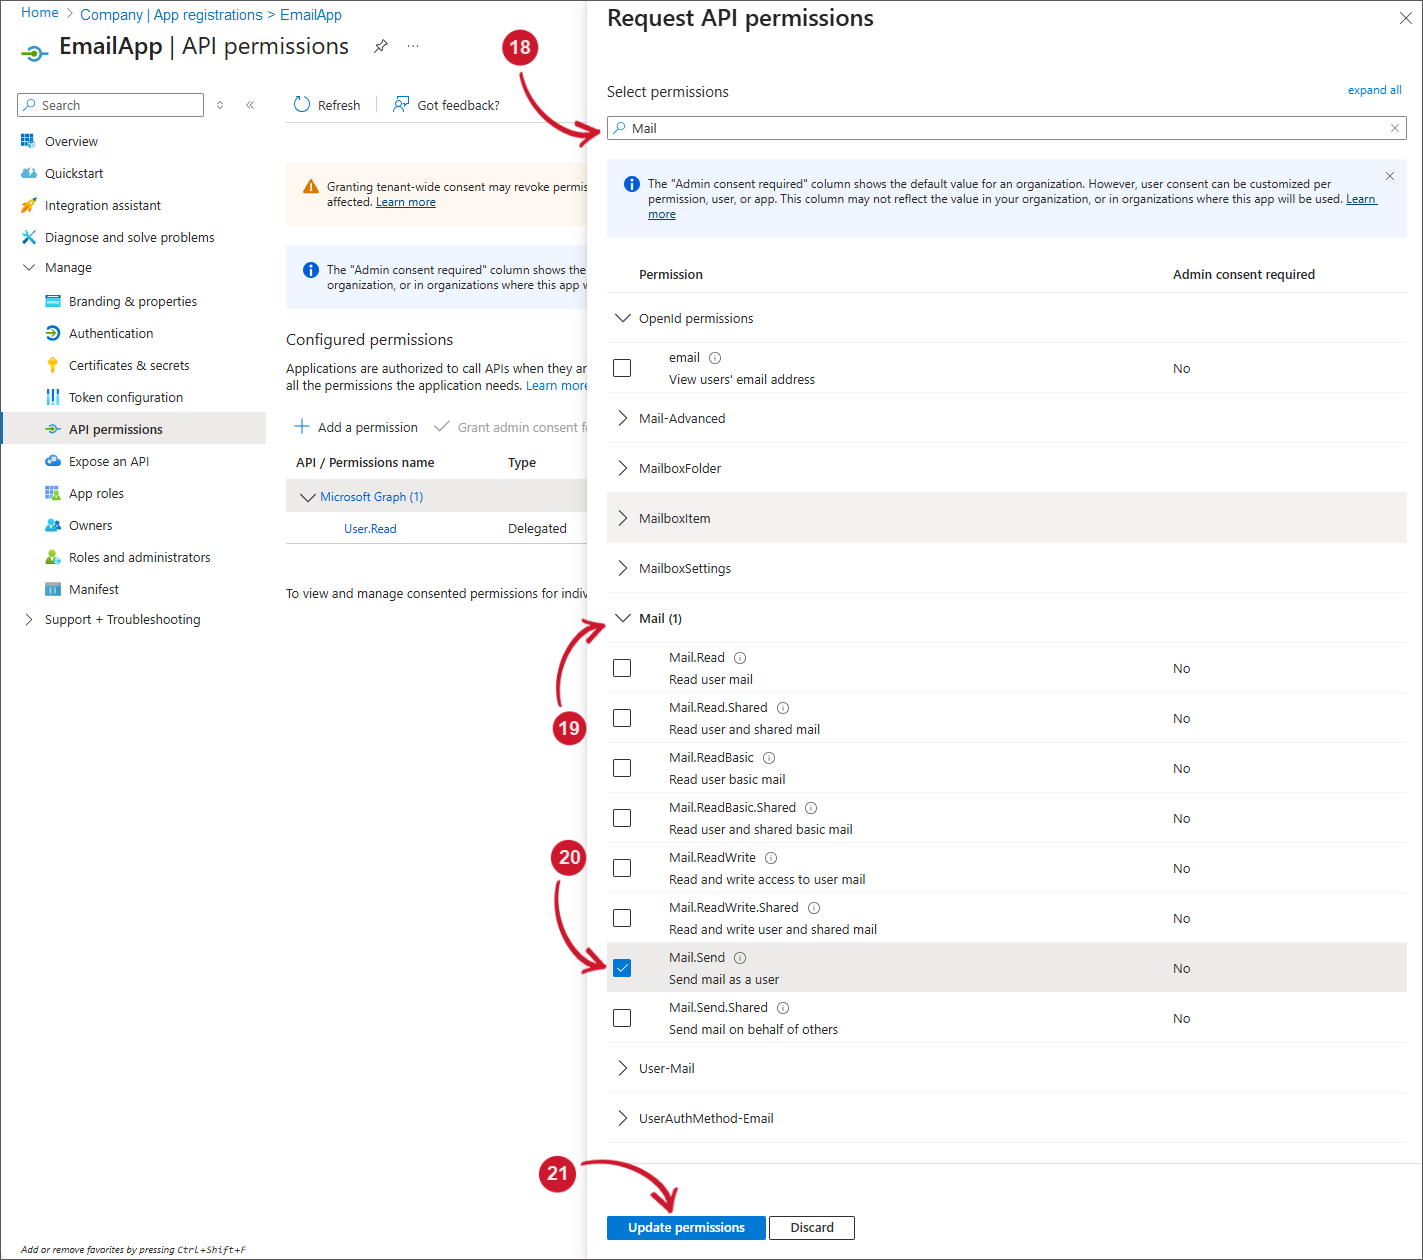 Registered Application API Permissions - Mail
-
Click Update permissions. The list of API / Permissions will automatically be updated. Make sure that under Microsoft Graph the following permissions are listed:
- Mail.Send
- offline_access
- openid
- profile
- User.Read
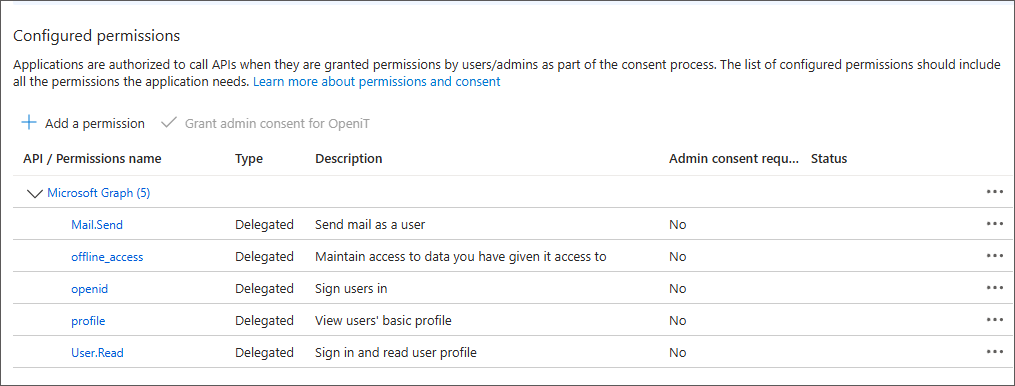 Registered Application API Permissions
Configuring Mail Server Authentication with OAuth2
-
Open the Open iT Analysis Server web interface.
-
Go to Administration > Email Settings.
NOTE -
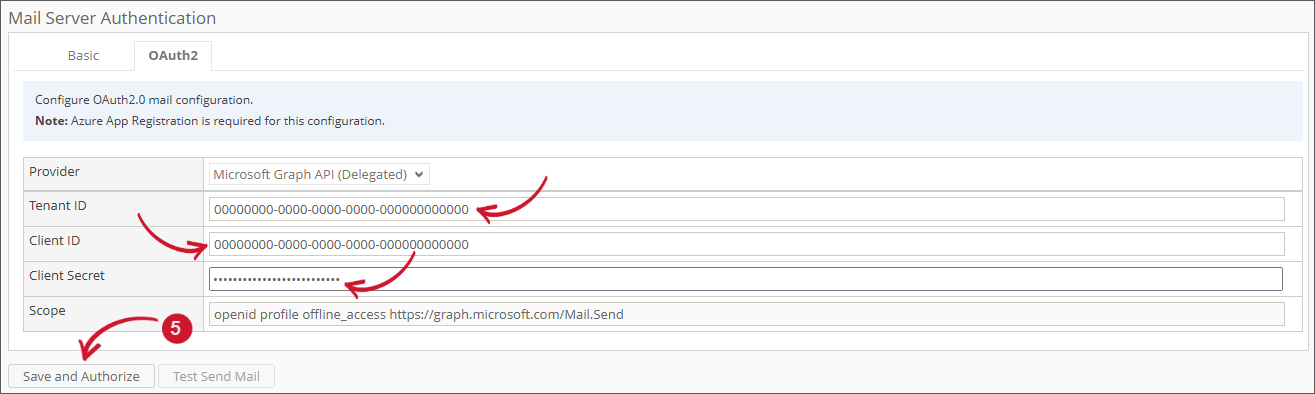
Under the Mail Server Authentication, click OAuth2 tab.
-
Provide the following required fields:
- Tenant ID
- Client ID
- Client Secret
NOTEThe Client ID and Tenant ID are available on the Overview page of the registered application in Microsoft Azure Portal.
The Client Secret should be available through step number 13 of the section Registering Application in Azure Portal.
-
Click Save and Authorize.
 Mail Server Authentication Settings
NOTEIf only the General settings are modified after a successful OAuth2 authentication, the system will not re-authenticate. It will simply save the updated settings. Note that in this case, the button label will display Save Configuration.
-
The page will be redirected to Microsoft Online Login page.
tipIn certain cases, providing credentials may not be required if you are already logged in to other applications. You can simply skip the remaining steps and proceed.
-
Provide a valid Email Address in the Microsoft login page. Click Next.
 Microsoft Login Page - Email
-
Provide the Password, then click Sign in.
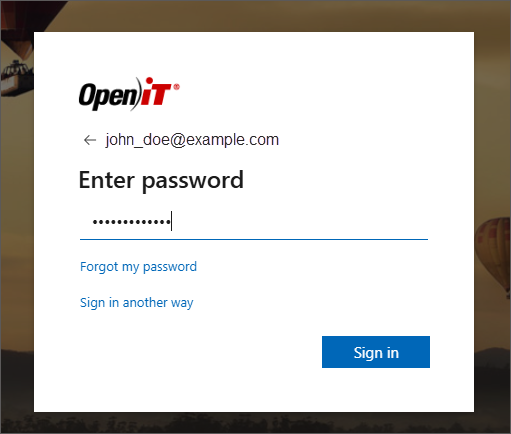 Microsoft Login Page - Password
NOTEYou may also be prompted for 2F Authentication if configured in your account. Accomplish the task to proceed.
-
Choose the appropriate answer if asked to Stay signed in.
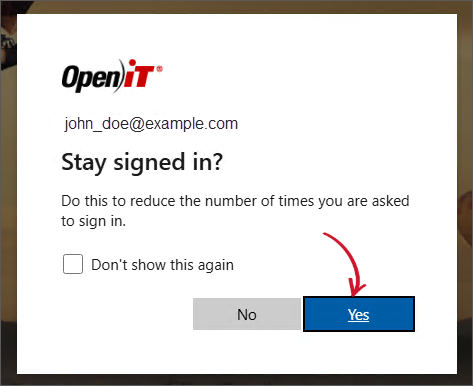 Microsoft Login Page - Signed In
NOTEWhen a Permission Request dialog prompts, read the terms and conditions carefully, then click Accept.
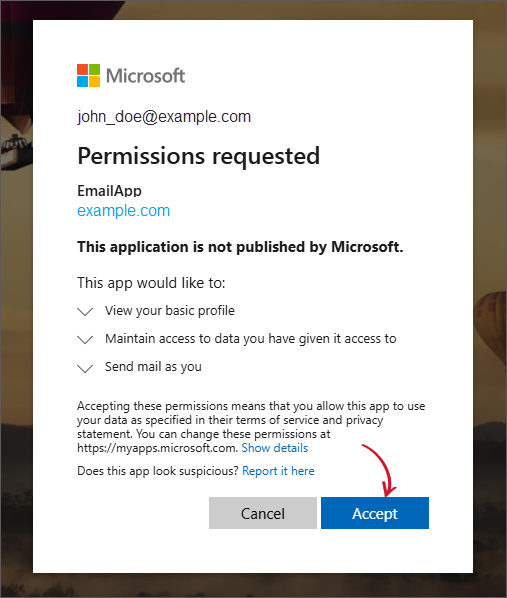 Microsoft Login Page - Permission Request
 -
The page will be redirected back to the Open iT Analysis Server Email Settings page. Notice the notification displayed at the top of the General settings.
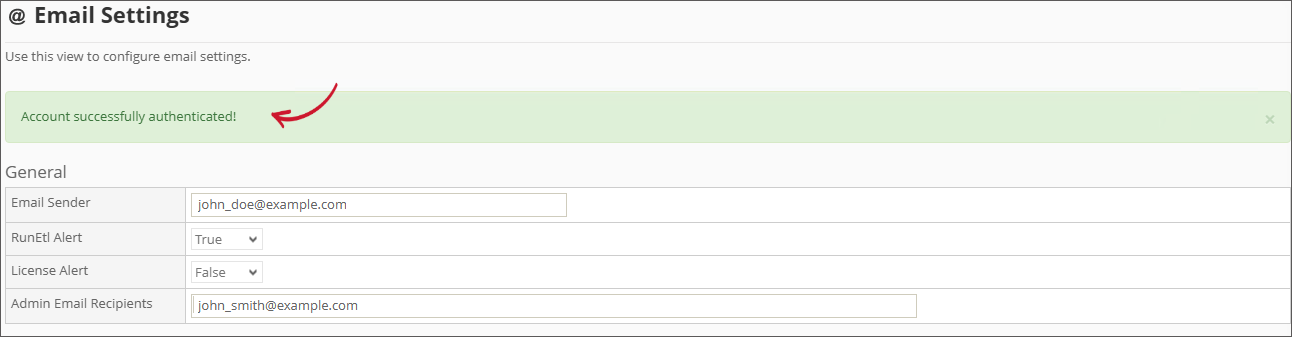 Successful Authentication Notification
-
Once successful, the Test Send Mail button will be enabled. Click the Test Send Mail to test the provided configuration.
Wait for the confirmation message to appear.
 Test Send Mail
The recipients configured should receive a test mail.
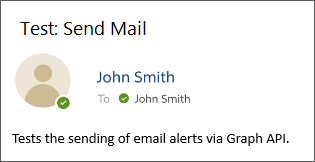 Sample Test Send Mail
