Managing Cost
The Cost page contains various functionalities to manage costs of specific applications.
Make sure that you have administrative rights to the Analysis Server.
Adding a Record
Follow these instructions to add costs to specific applications:
-
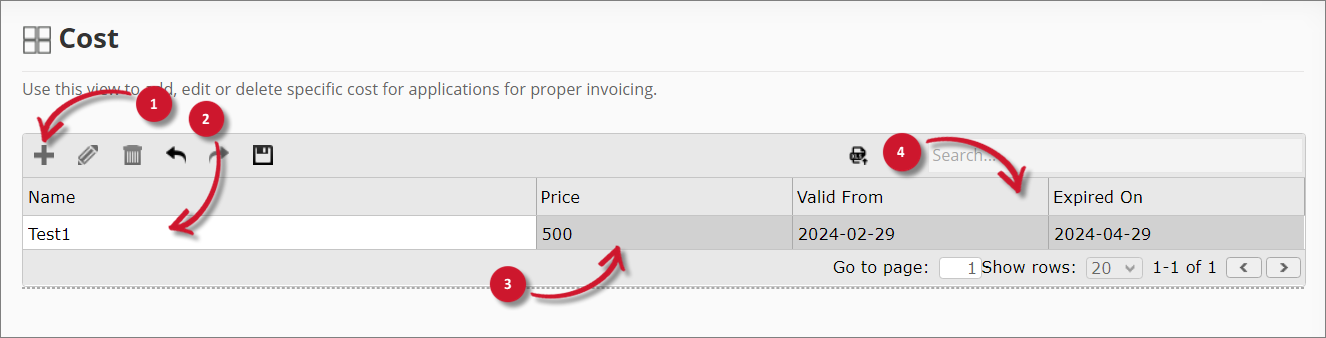
In the Cost table, click the add icon.
-
Type the application name to assign a cost.
A list of all related data will be displayed while typing if data is processed and available.
-
In the Price column, type in the cost to assign to the application.
-
Choose the date range for the validity of the pricing:
- Valid From - start date of the validity
- Expired On - end date of the validity
 Add Record
NOTEUse the undo and redo options to revert unsaved modifications. The Undo option can revert until the last unsaved modification, while the Redo option can restore up to the latest modification.
-
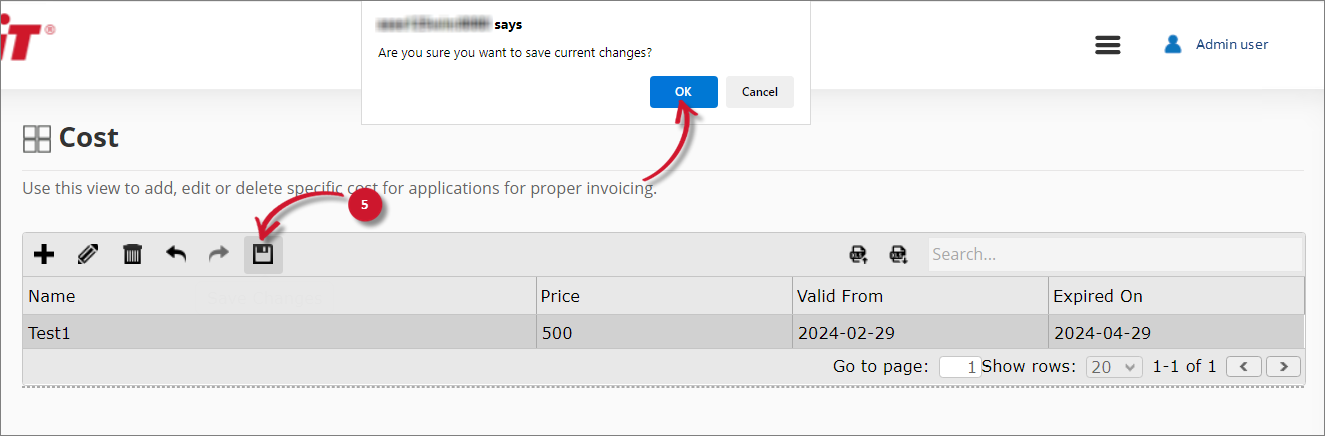
Once done, click the save icon. Choose OK on the confirmation prompt to continue.
 Save Record
Updating a Record
Follow these instructions to update record(s):
-
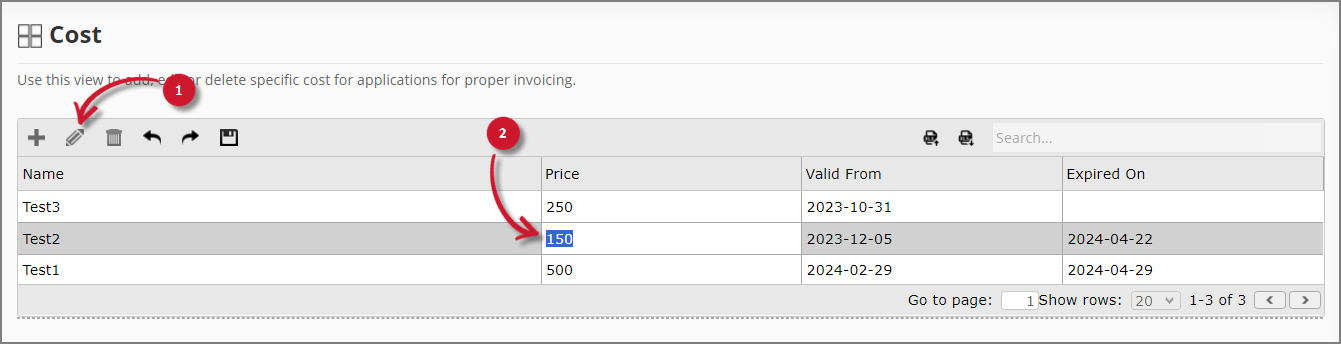
In the Cost table, click the row of the record you want to update, then click the edit icon. Alternatively, double-click the record's value to transform it into a text editor.
-
Modify the values. Repeat the procedure to update all desired values.
NOTEUse the undo and redo options to revert unsaved modifications.
 Updating a Record
-
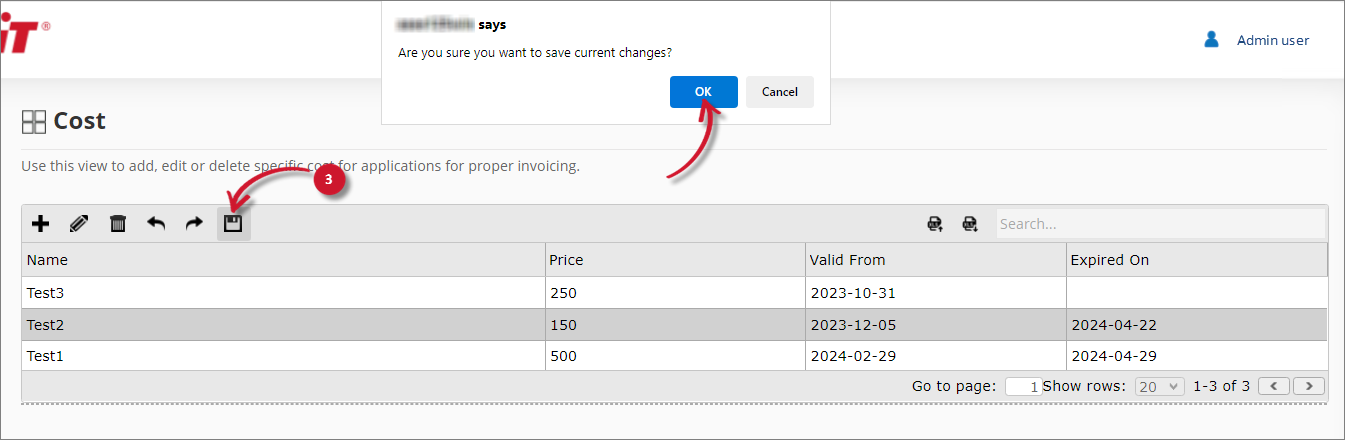
Once satisfied with the modifications, click the save icon. Choose OK on the confirmation prompt to continue.
 Save Record
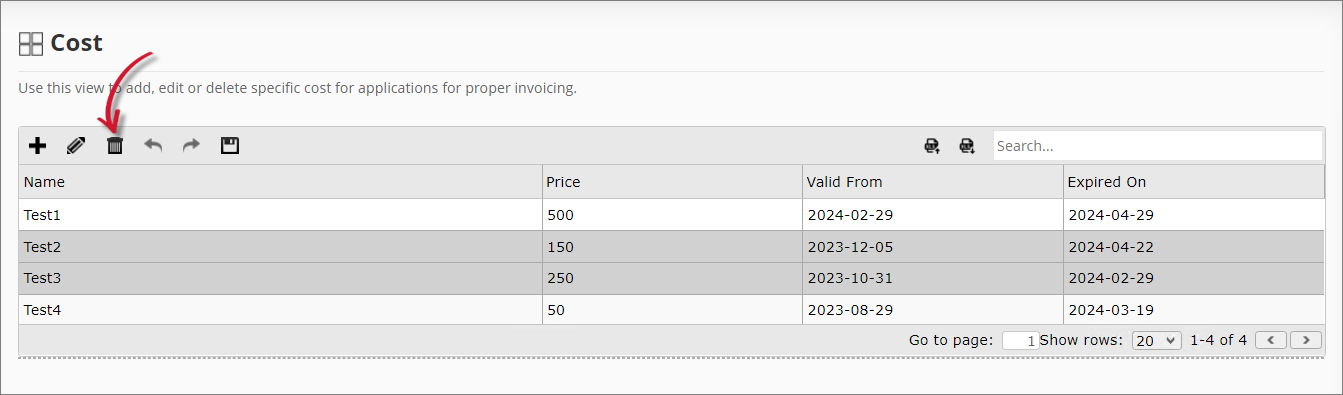
Deleting a Record
Follow these instructions to delete record(s):
-
In the Cost table, click the row of the record you want to delete.
To select multiple records:
- Select the first record, press the Shift key, then select the last record to include all consecutive records.
- Select any record, press the Ctrl key, then select multiple records.
-
Click the delete icon or press the Delete key. The selected item(s) will be removed from the list.
 Deleting a Record
NOTEUse the undo and redo options to revert unsaved modifications.
-
Once done, click the save icon. Choose OK on the confirmation prompt to continue.
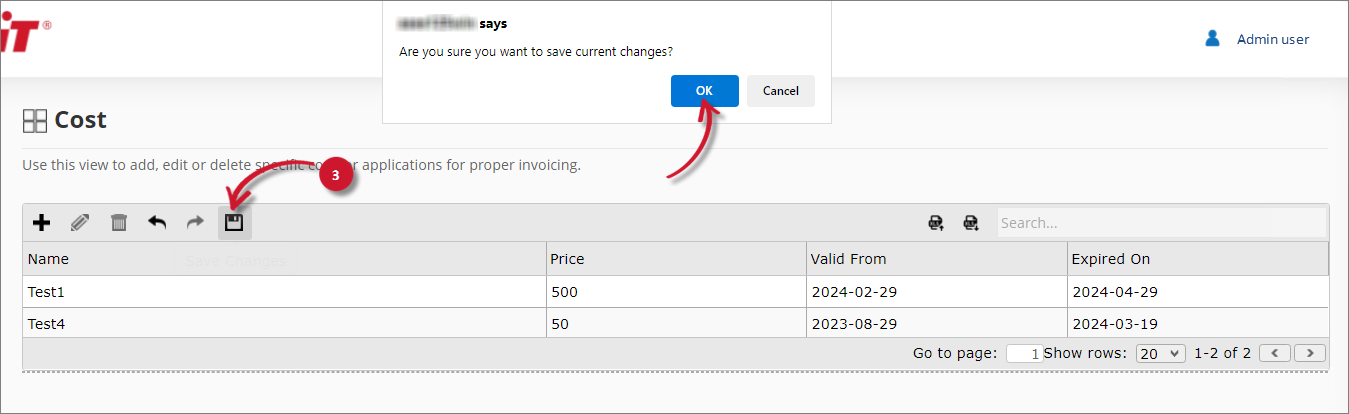 Save Changes
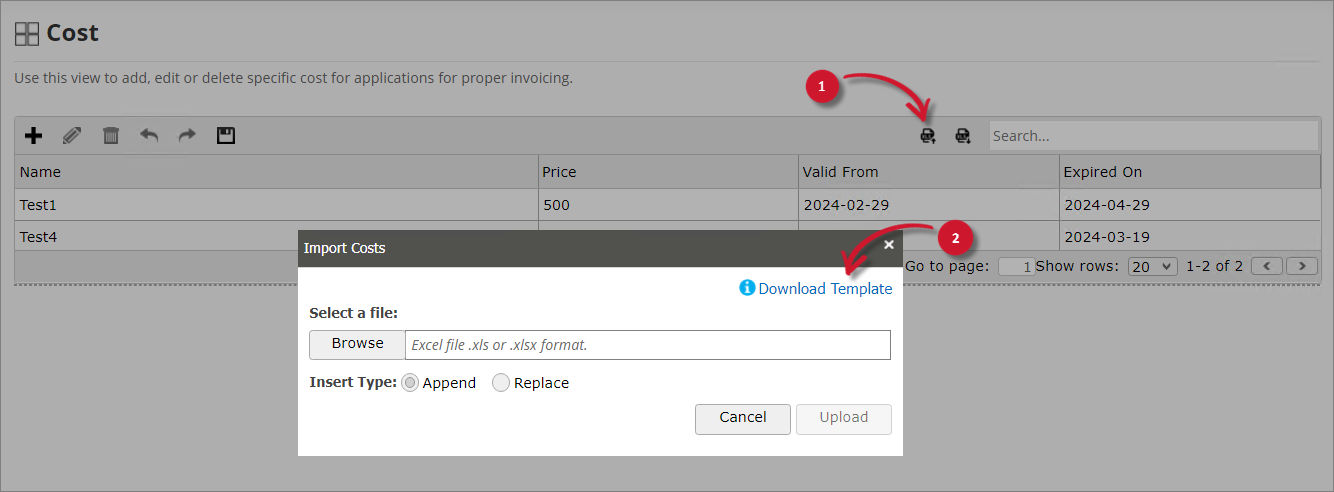
Importing Records
Follow these instructions to import record(s):
-
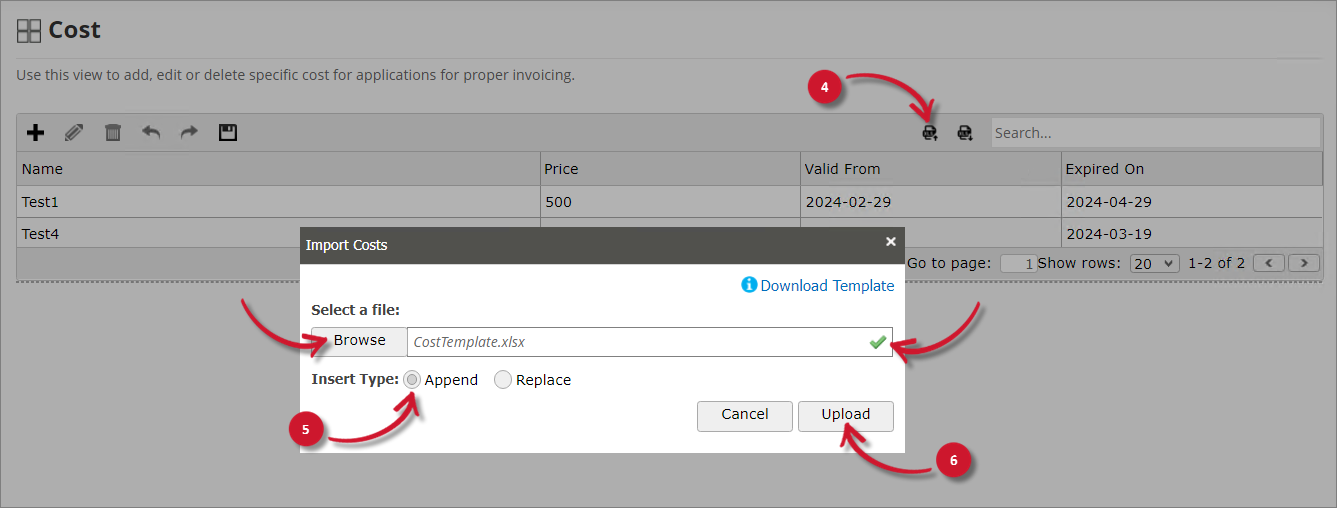
In the upper-right corner of the Cost table, beside the search bar, click the Import Data from Excel icon.
-
In the Import Costs dialog, click Download Template; this downloads an Excel template you can use to store cost information.
 Downloading the Template
-
Open the downloaded template and fill it out accordingly.
Validations are predefined in the template. Once done, save and close the file.
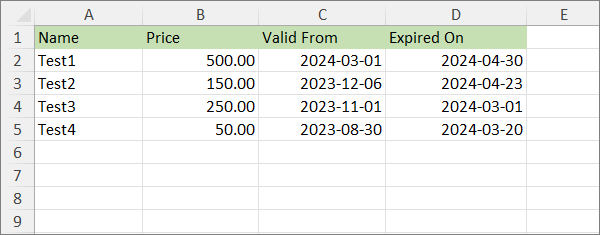 Template
-
Go back to the Cost page and click the Import Data from Excel icon. Select Browse to look for the Excel file.
A check icon beside the file name indicates that the file is valid.
-
Choose among the Insert types:
- Append - adds items from the Excel file to the existing items in the Cost table.
- Replace - deletes the existing items in the Cost table and replaces them with the imported records from the Excel file.
-
Click Upload to continue.
If Replace is selected, choose OK on the confirmation prompt to continue.
 Importing Records
Exporting Records
-
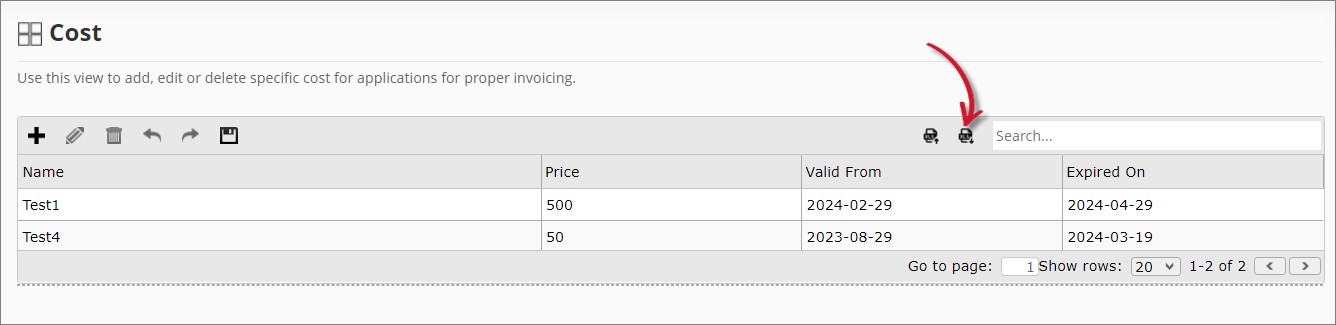
In the upper-right corner of the Cost table, beside the search bar, click the Export Data to Excel icon.
 Exporting Records
This downloads an Excel file containing all data in the Cost table. You can also use this file to import records.