Azure Portal Configuration - Application Registration
Follow these steps to register an application in a specific Active Directory in Azure Portal:
-
Go to the Microsoft Azure Website.
-
Click Sign in on the upper-right corner of the page. If you are currently logged in to your Microsoft account, it will use that account to authenticate.
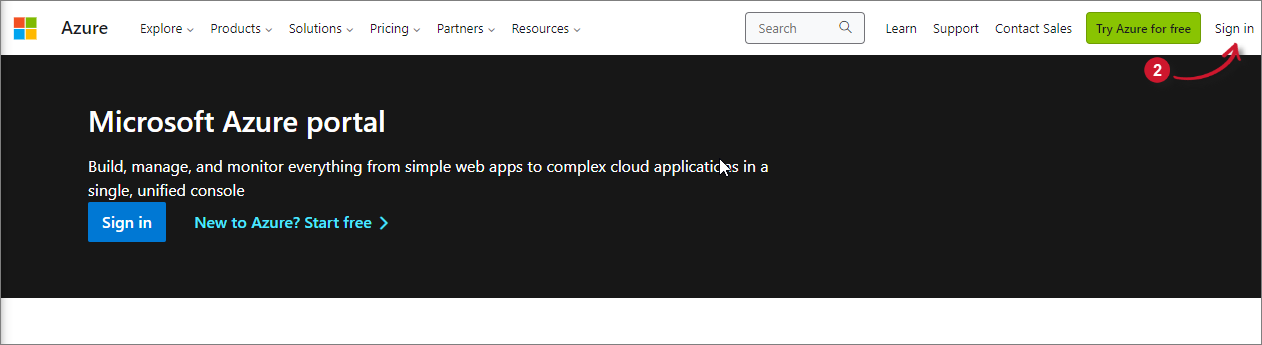 Microsoft Azure Website
This will redirect to the Microsoft Azure Portal.
-
Search for then go to the Microsoft Entra ID page. This will show the default tenant configured.
 Microsoft Entra ID
-
In the Manage pane, click App registrations.
-
Click New registration located at the upper-left part of the page.
 New App Registration
This will be redirected to the Register an application page.
-
Provide all the necessary information in the form displayed. Description of the options are provided in the form.
warningProvide a valid URI of an Open iT Analysis Server instance in the Redirect URI field. Select Web as the application type.
-
Click Register.
 Register an Application
-
Wait until the page is redirected to the registered application overview page. This page contains all the settings and configuration of the registered application.
warningTake note of the Client ID and Tenant ID of the registered application. This will be used in configuring the Open iT Analysis Server.
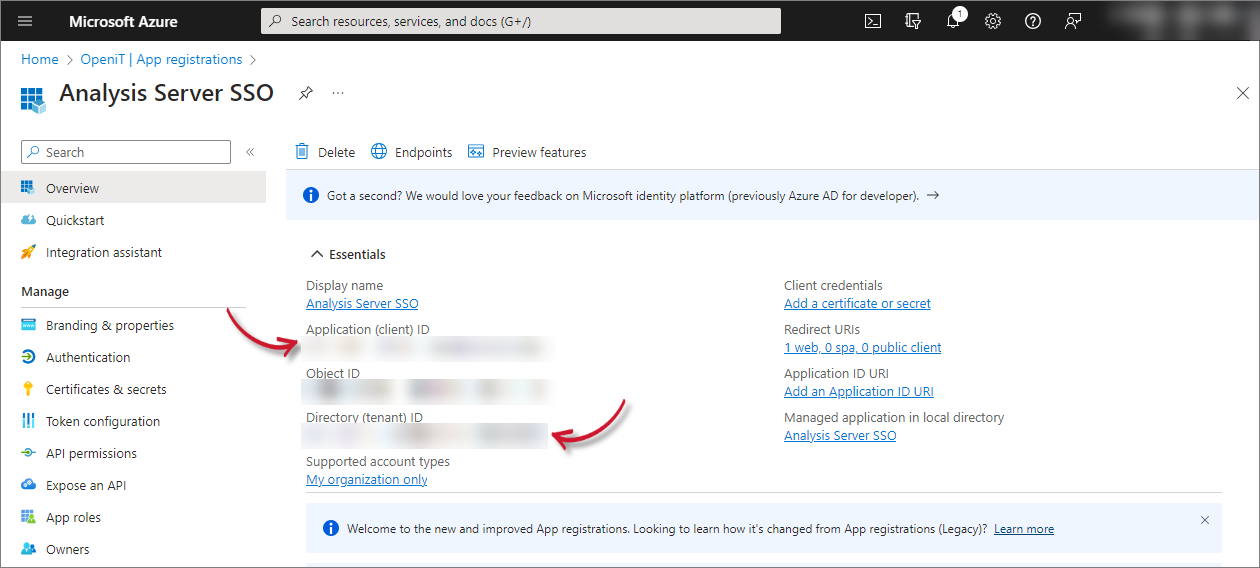 Application Overview
-
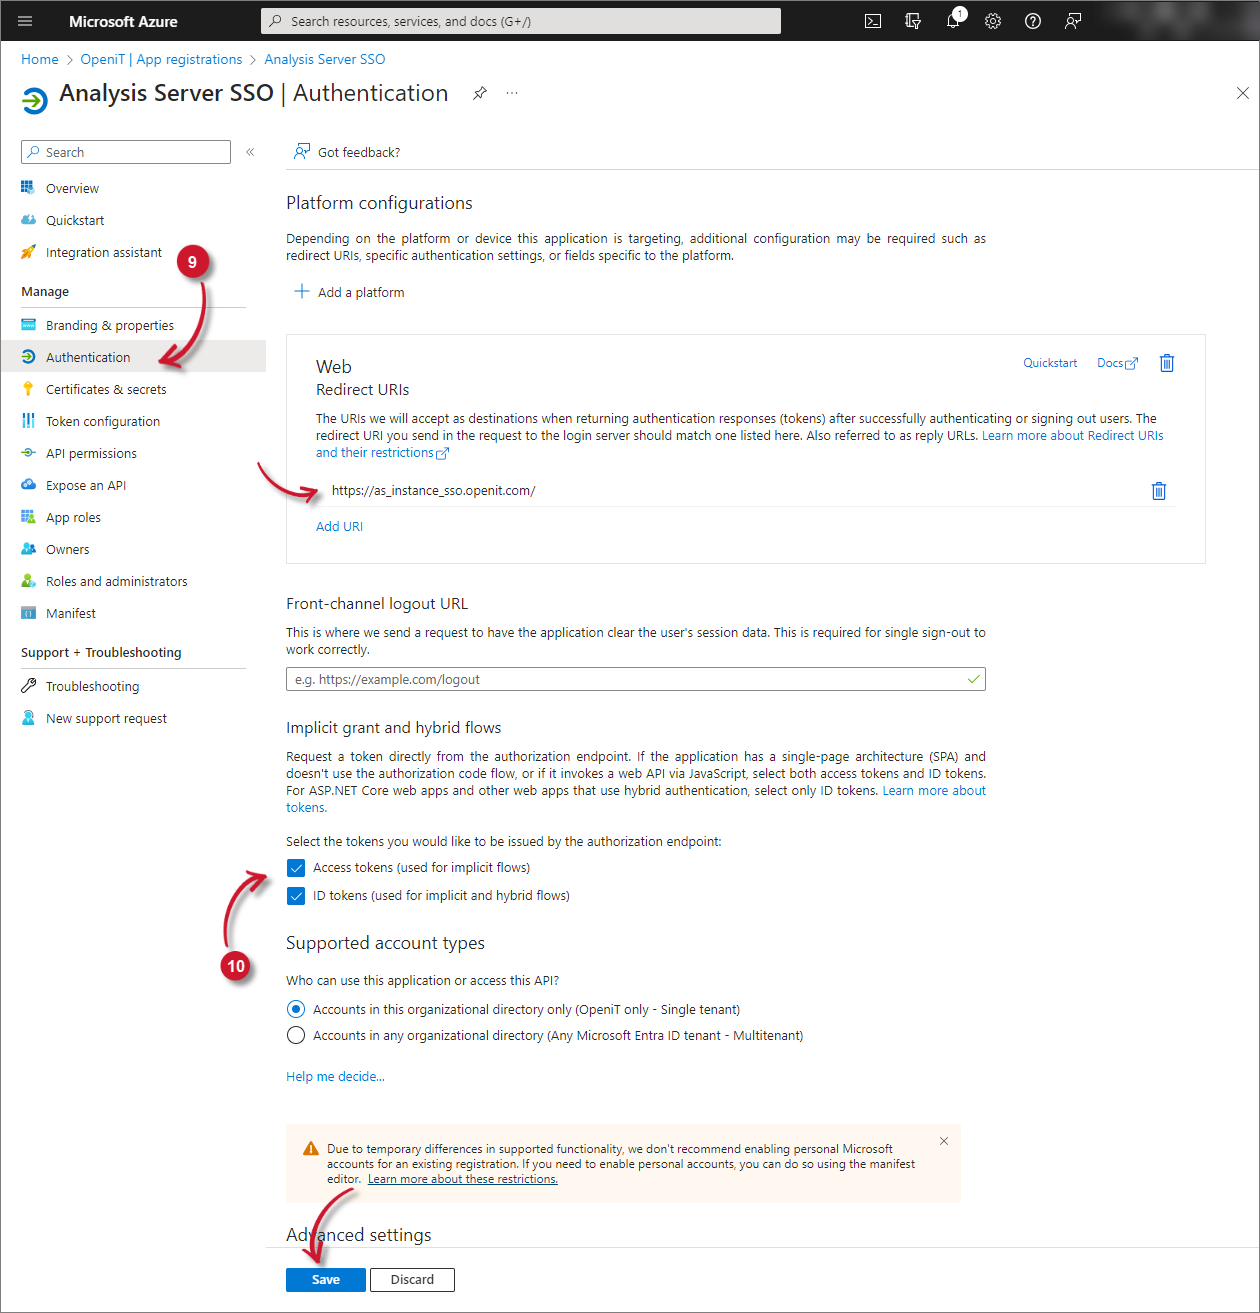
In the Manage pane, click Authentication. Make sure that the Redirect URI is correct.
-
Under Implicit Grant, select Access tokens and ID tokens. Click Save.
-
In the Manage pane, click Certificates & secrets.
-
Click New client secret. Add a client secret will appear.
-
Provide a Description and set the Expires to what your organization allows. Click Add.
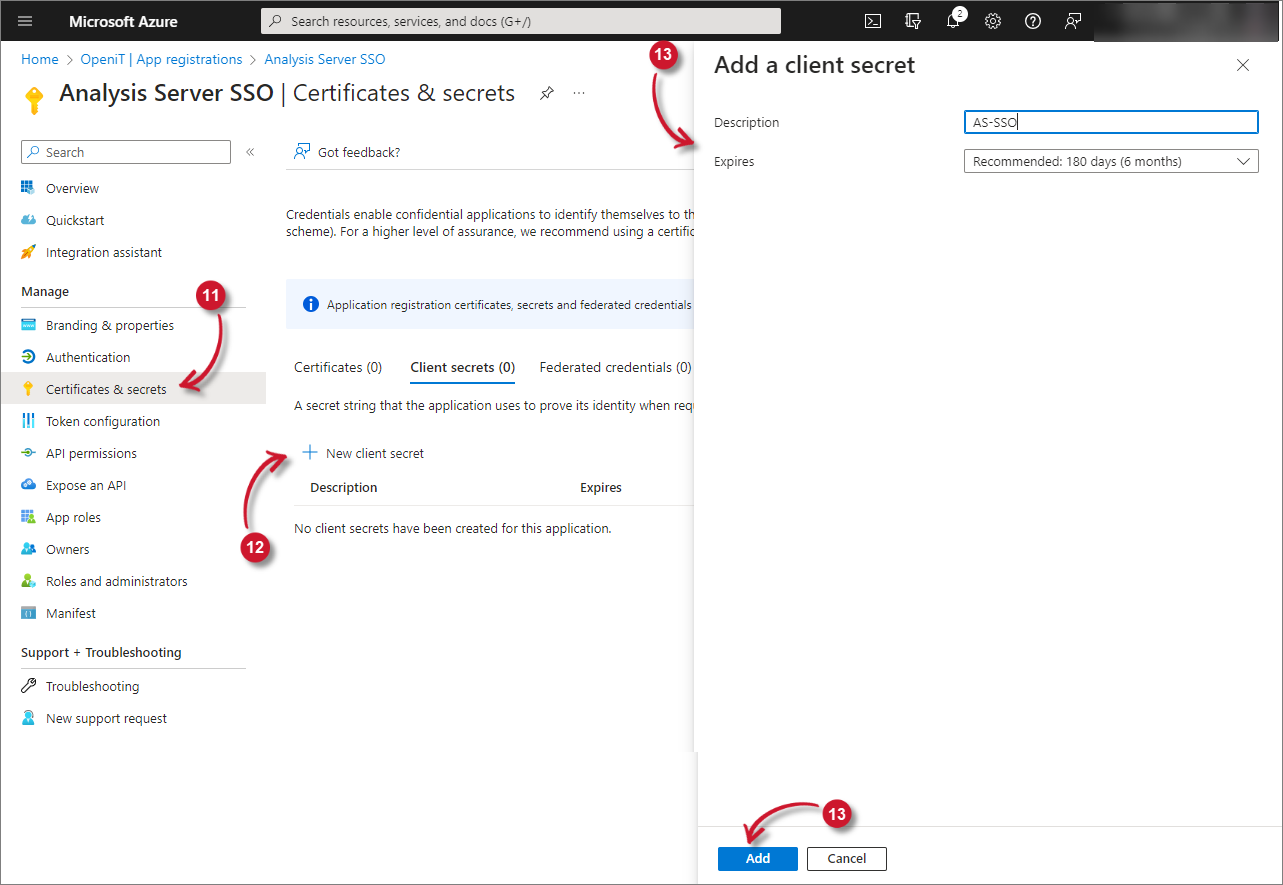 Application Certificates and Secrets
-
A new entry of client secret will be added.
warningTake note of the Value. It will be encrypted after leaving the page.
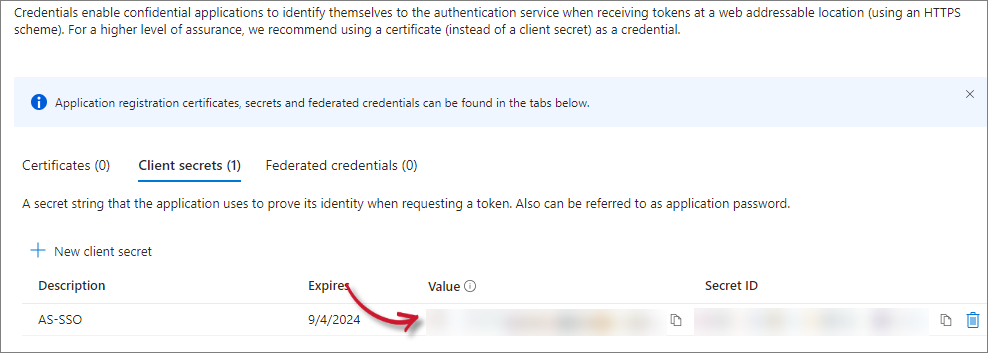 Application Secrets